
Last updated November 17, 2026
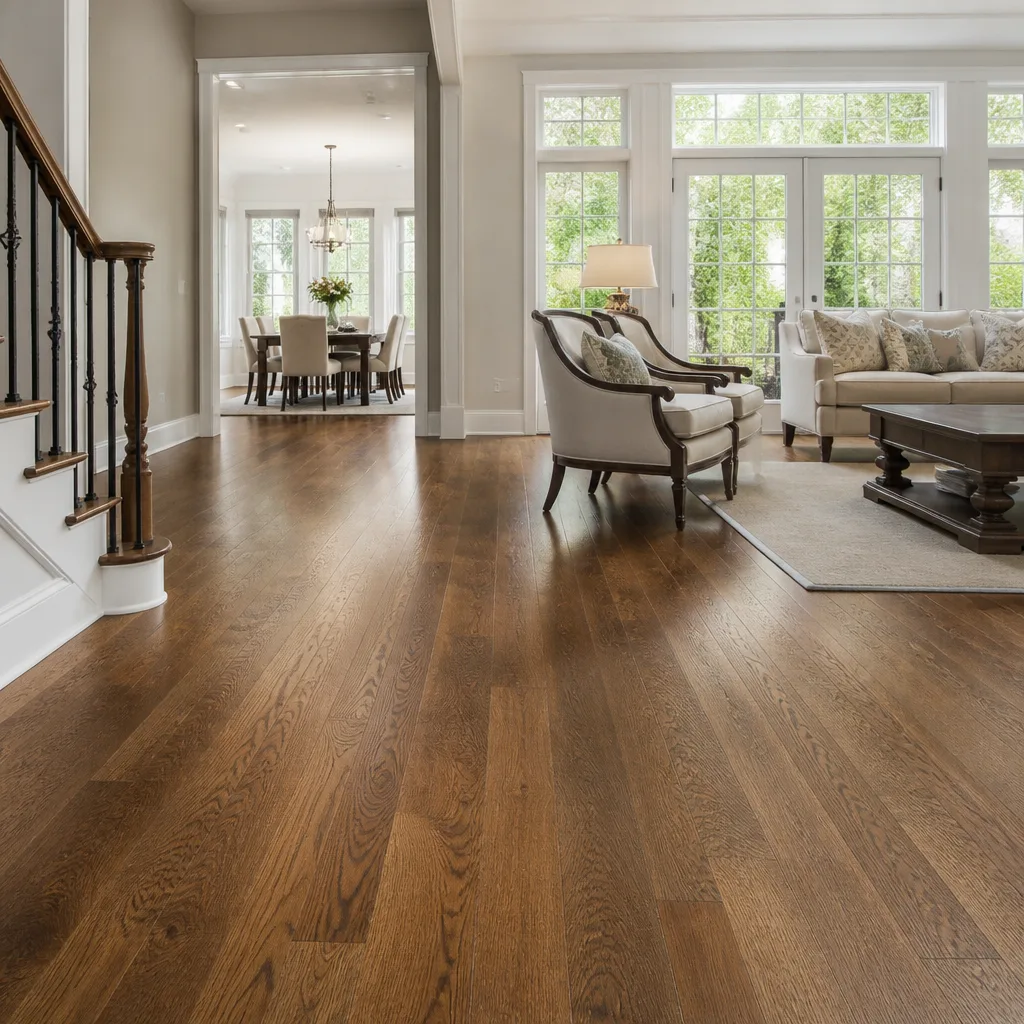 Hardwood
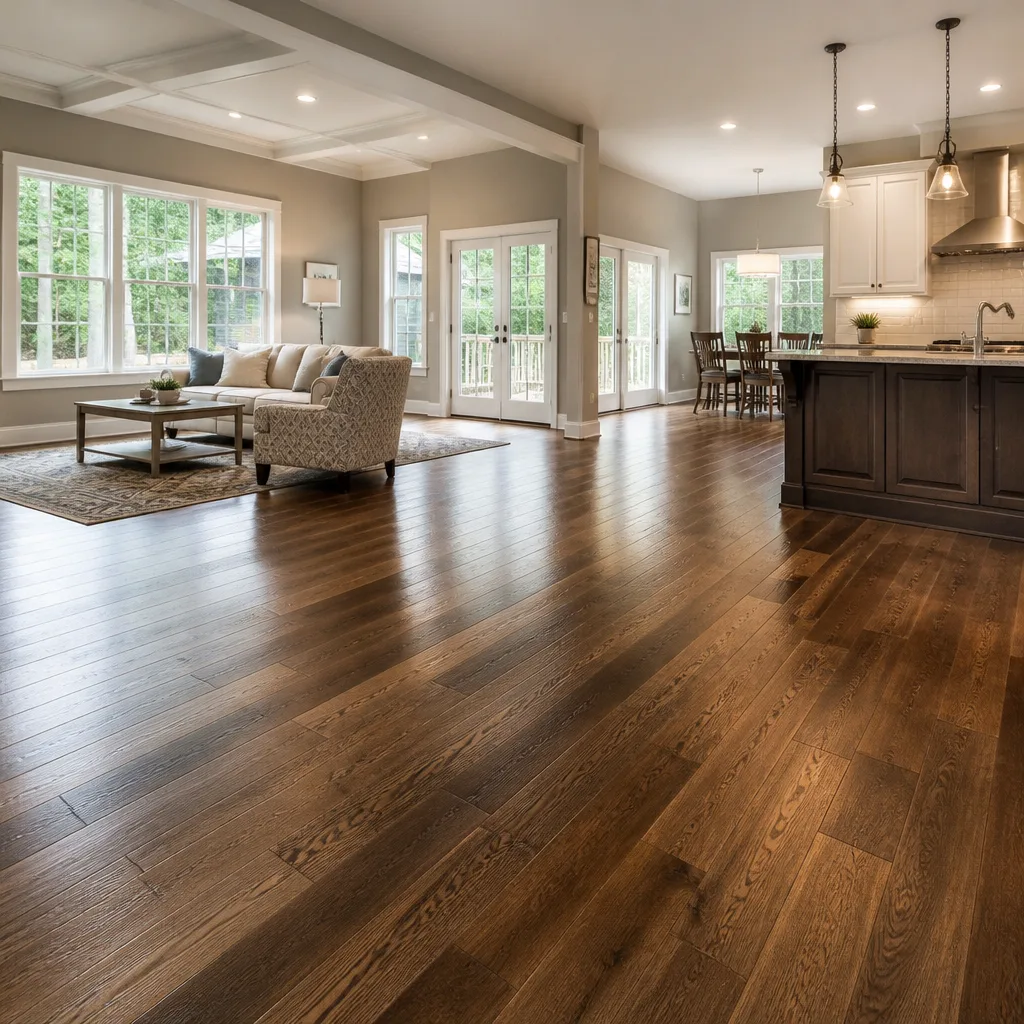 Engineered hardwood
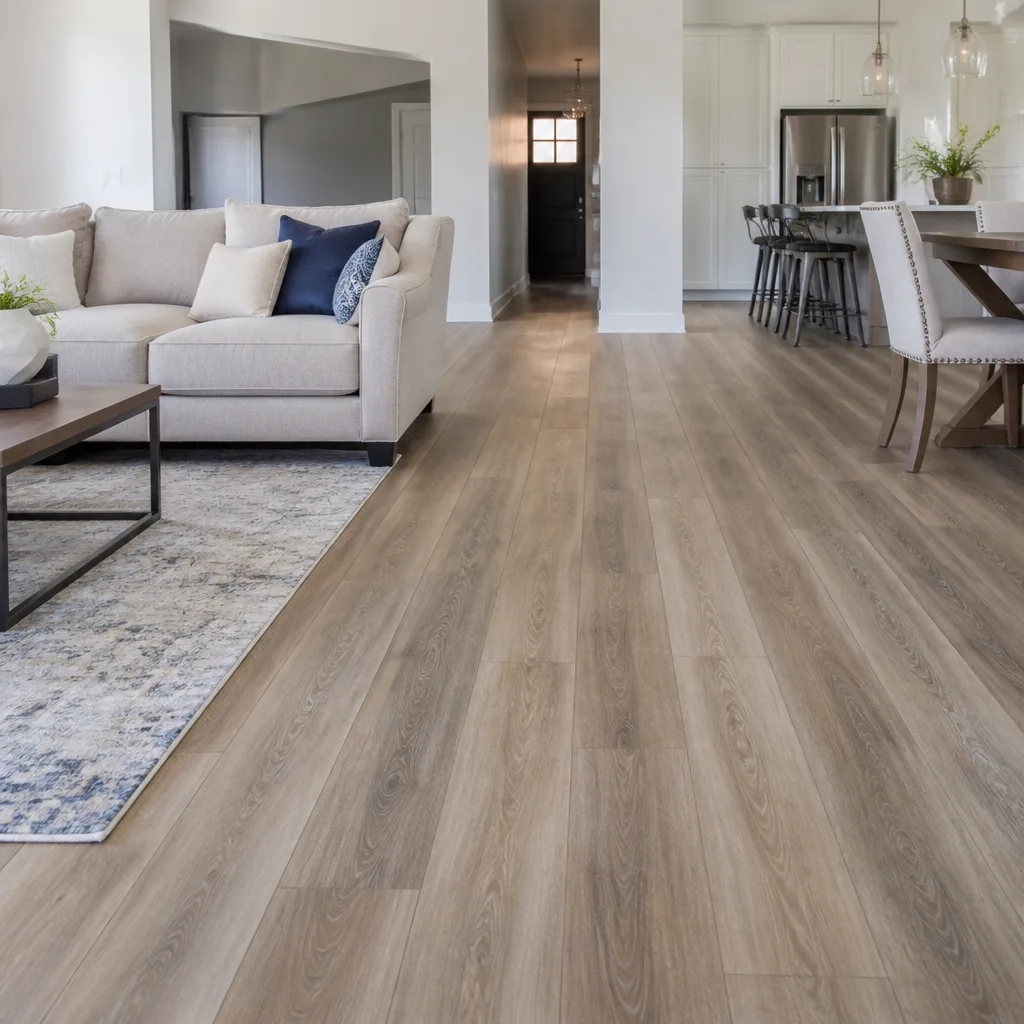 Luxury vinyl plank
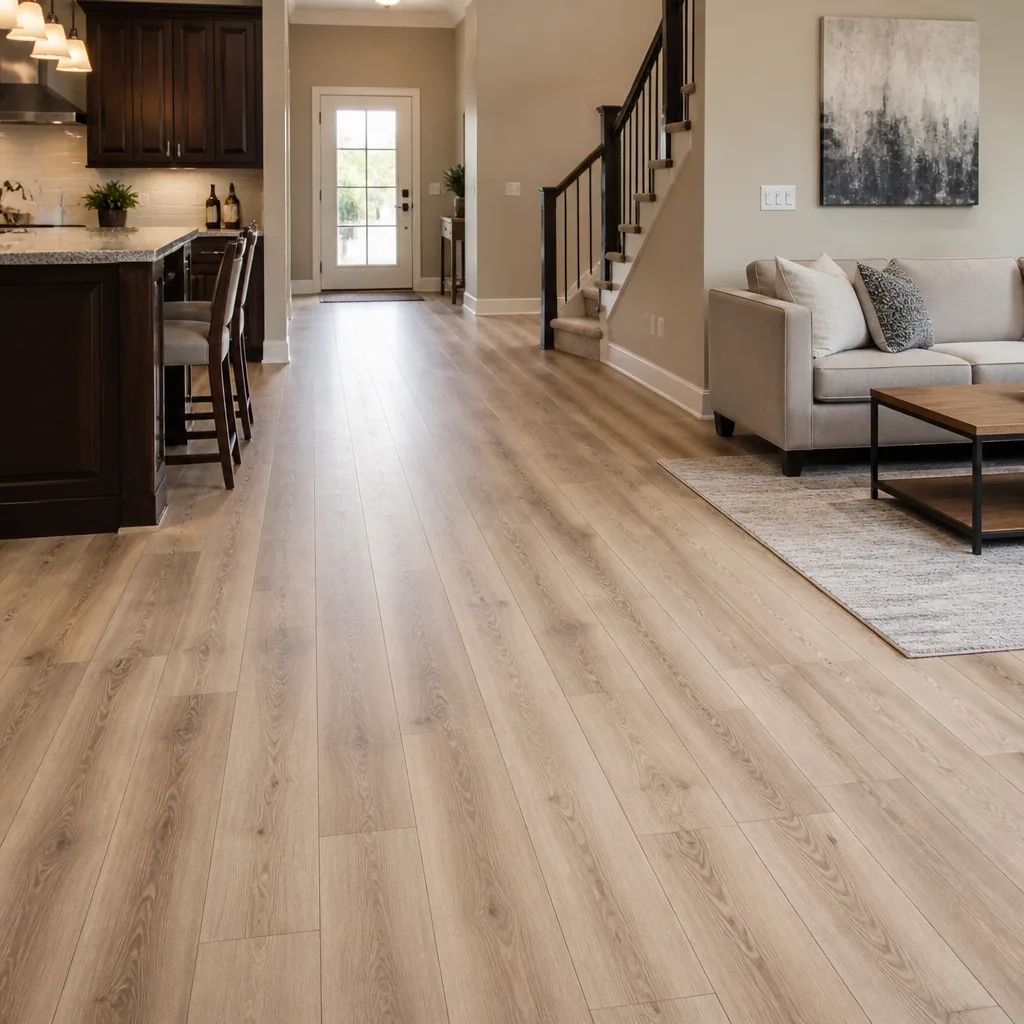 Laminate
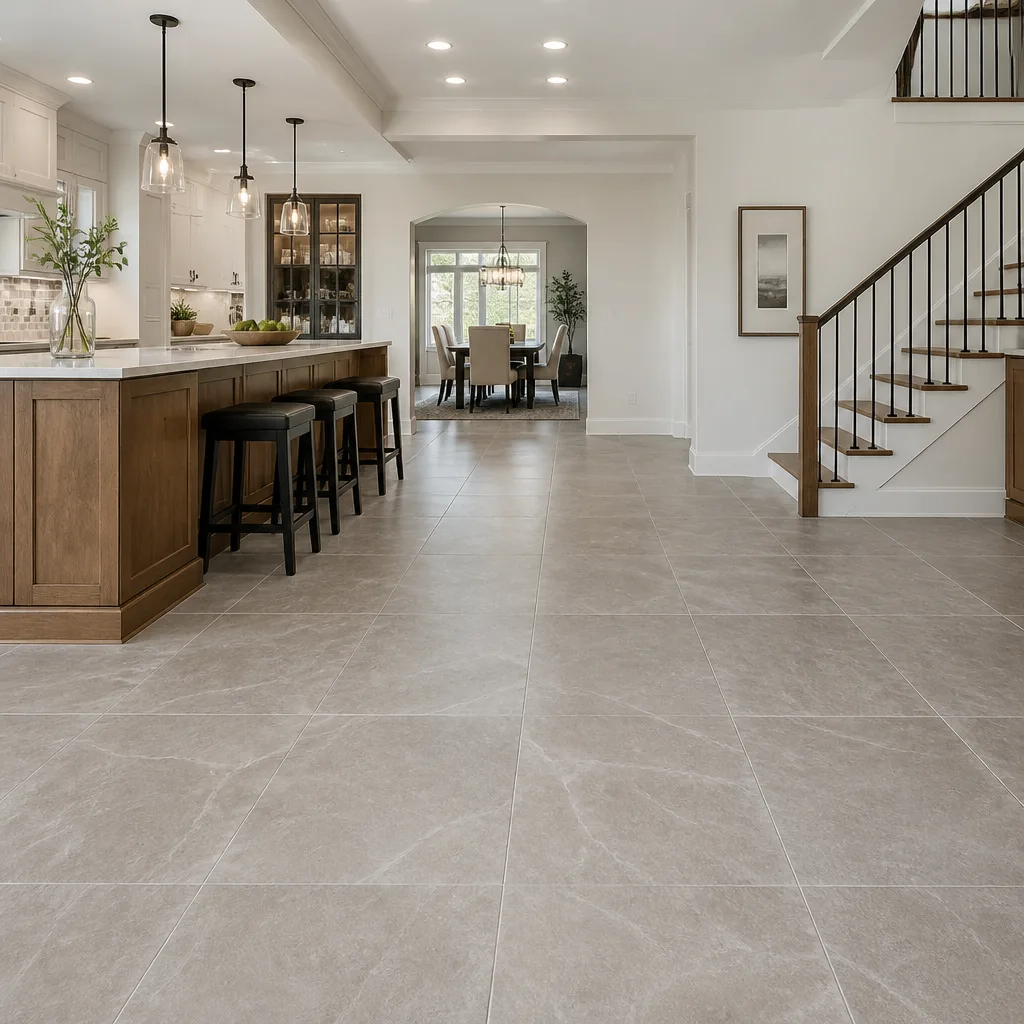 Porcelain tile
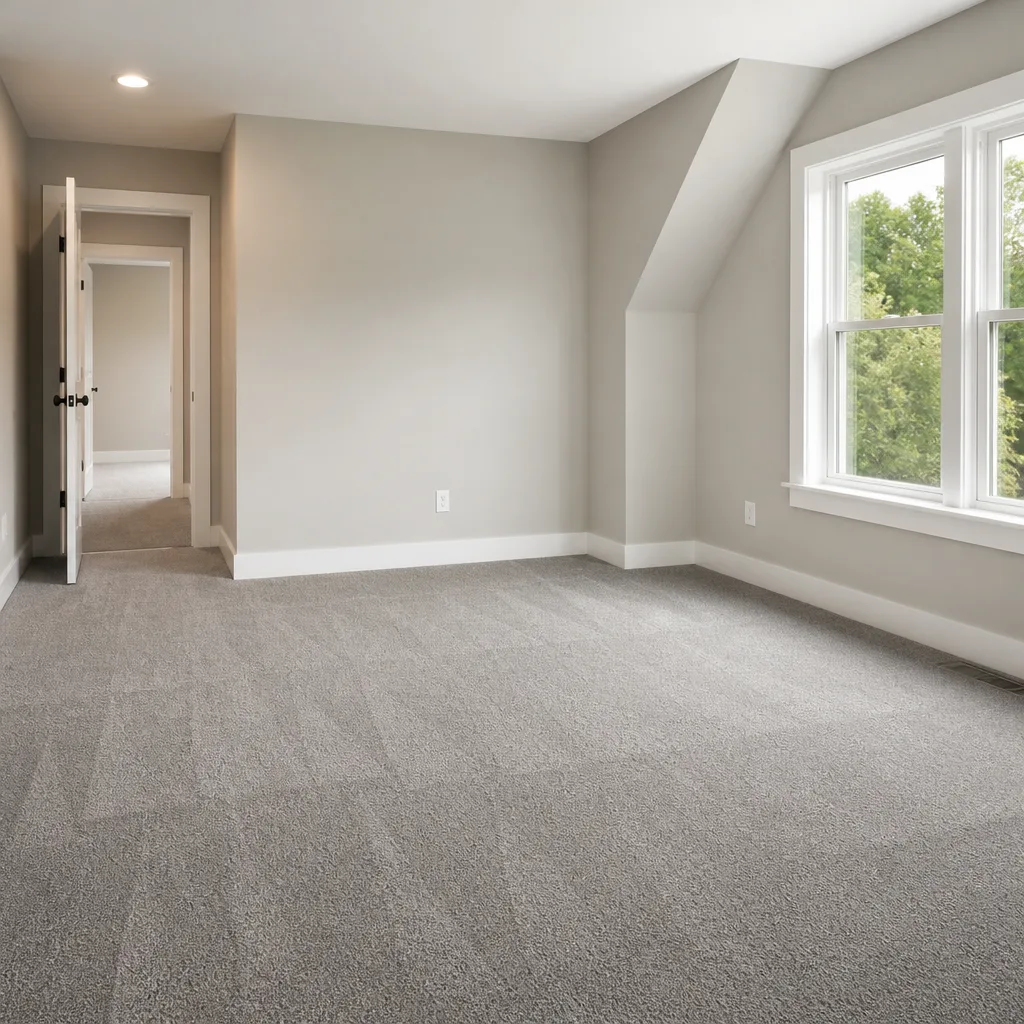 Carpet
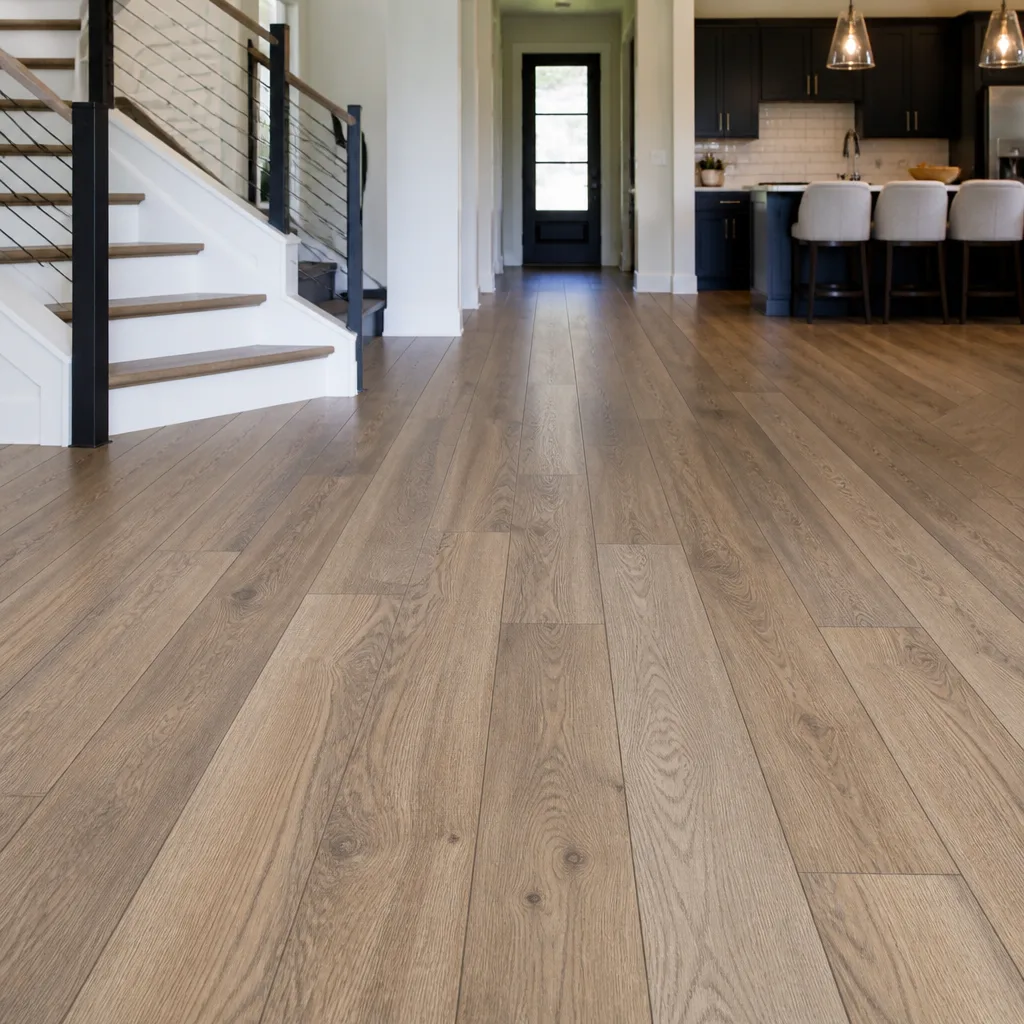 Shaw
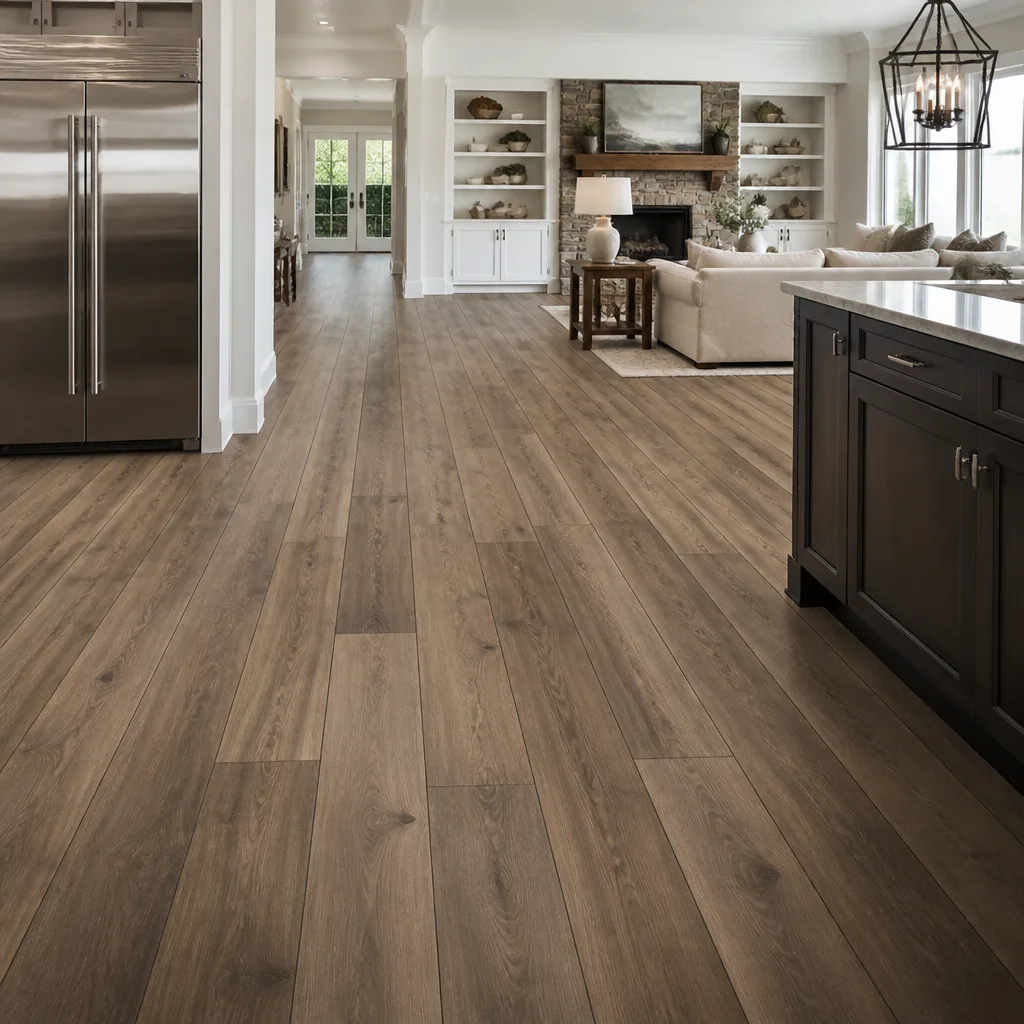 Mohawk
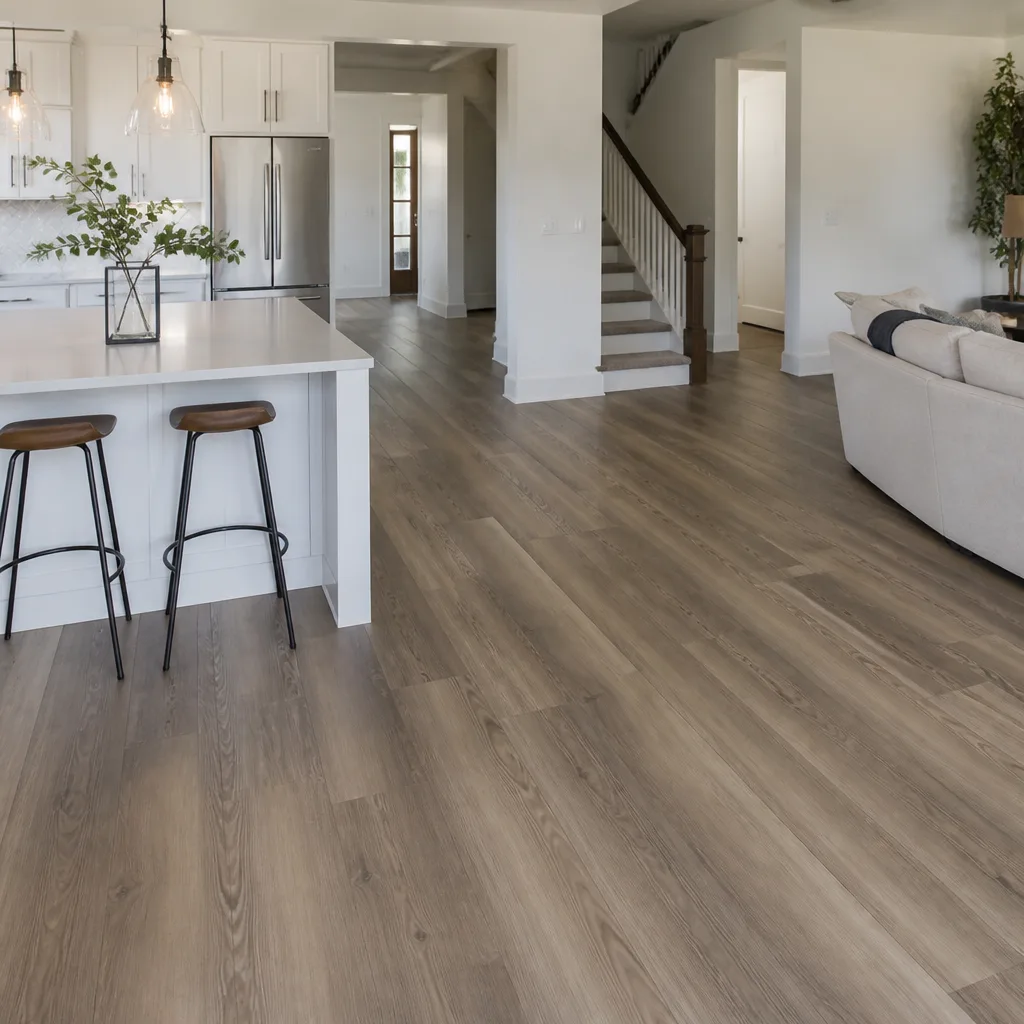 COREtec
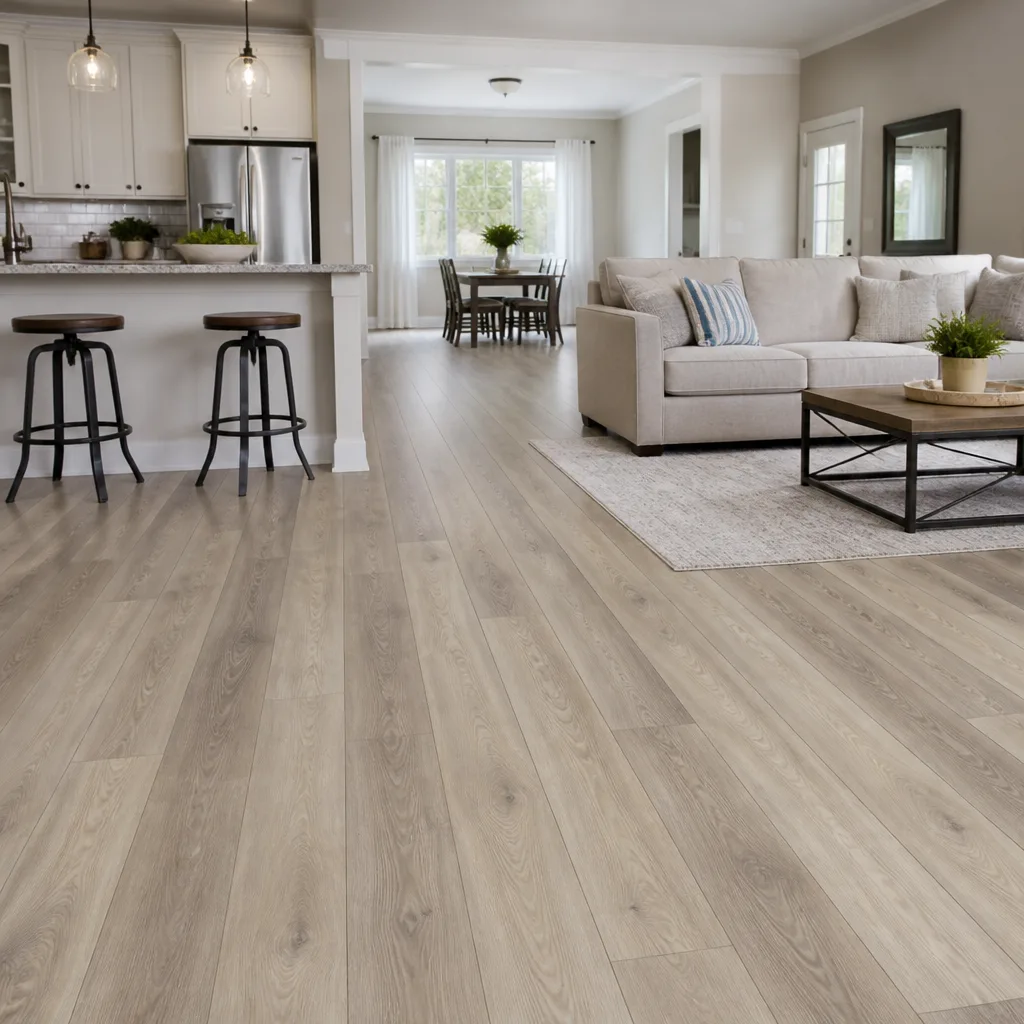 Pergo
Free in-home measure and written estimate: Shaw, Mohawk, COREtec and Pergo lines compared on your own rooms, with carpet, tile, vinyl plank, laminate and hardwood laid out side by side
Get your free estimateSubfloors Explained: What Sits Under Your New Floor
Concrete slabs in Spring Valley are not all created equal. A slab poured in 1978 behaves differently than one from 2015 – different vapor barriers, different finish smoothness, different moisture transmission rates that change which adhesives and underlayments are required and which floor products are off-limits. The floor you see is the last 3/8 inch of the job. The subfloor underneath it decides whether that floor stays put, stays flat, and stays quiet for the next fifteen years. We wrote this guide to explain the part of a flooring project almost nobody explains: the slab, the plywood, the joists, and the moisture readings that quietly control every product decision you’re about to make.
Quick Answer
A subfloor is the structural surface your finished floor sits on: usually a concrete slab in Spring Valley homes, sometimes plywood over a slab, sometimes wood joists with a plywood deck. Which one you have, how flat it is, and how much moisture it gives off determines which flooring products can be installed at all. Flatness, moisture, and vapor control matter more than brand selection, and they’re the first things checked before a written estimate is fair.
Styles & brands we work with
- Hardwood
- Engineered hardwood
- Luxury vinyl plank
- Laminate
- Porcelain tile
- Carpet
- Shaw
- Mohawk
- COREtec
- Pergo
Table of Contents
- The Three Subfloor Types in Spring Valley Homes
- Why the Subfloor Matters More Than the Floor You Choose
- Moisture Testing: What the Numbers Actually Mean
- Flatness Tolerances and Why 3/16 Inch Over 10 Feet Matters
- Self-Leveling Compound: When It’s Required and What It Adds
- Vapor Barriers and Moisture Mitigation Membranes
- How Your Subfloor Changes Your Product Options
- Common Mistakes to Avoid
- When to Call a Professional
- Frequently Asked Questions
The Three Subfloor Types in Spring Valley Homes
Almost every home in Spring Valley sits on one of three subfloor assemblies. Identifying yours is the first step, and it usually takes about ten minutes with a flashlight, a drill, and a straightedge. The type you have narrows your product list fast – sometimes dramatically.
Concrete slab, on grade. This is the default in most Spring Valley neighborhoods built from the 1970s through the 2010s. The finished floor sits directly on the slab, sometimes over a thin pad, sometimes glued down. Slab-on-grade is durable and doesn’t move, but it transmits moisture from the soil below, and it can be uneven in ways that only show up under a straightedge.
Plywood over slab. Some homes – often older builds or remodels where the original floor was raised by an inch or so – have a plywood layer over the slab. This is good news for certain products and bad news for others. You gain a nail-down surface, but if moisture gets trapped between the plywood and the slab, the plywood itself can swell and delaminate.
Wood joists with plywood decking. Common on second floors and in some two-story Spring Valley homes. Joist systems flex slightly underfoot, which affects which underlayment you choose and whether tile is a good idea at all. A floor that moves even a little is a bad candidate for cement board-free tile installation.
Here’s what changes based on which one you have:
- Adhesives: Slab moisture limits which glue can be used, especially for engineered hardwood and some LVP.
- Underlayment: A joist floor needs a different underlayment than a slab; the wrong pick shows up as squeaks or crack lines.
- Fastening: Nail-down works on plywood and joist decks, not on concrete.
- Flatness repair: Slabs are corrected with self-leveling compound; joist decks are corrected with sanding, patching, or sister joists.
- Product limits: Some products spec out completely on slabs above a moisture threshold, and some don’t care.
If you don’t know what’s under your existing floor, the answer is usually visible at a floor vent, a doorway transition, or a stair nose. If you’re not sure, that’s what the estimate visit is for.
Why the Subfloor Matters More Than the Floor You Choose
Homeowners spend weeks choosing a floor. They compare Karndean against COREtec, they look at Shaw carpet samples, they debate plank width. All of that matters, and none of it matters more than what’s underneath. A premium floor installed over a wet or uneven slab will fail – curl, lift, crack, or telegraph every dip in the concrete through the finished surface. A mid-range floor installed over a properly prepped subfloor will look and hold exactly as designed.
The reason is simple physics. Every finished floor has a tolerance for moisture and a tolerance for movement. Stay inside those tolerances and the floor behaves. Go outside them and no brand survives, no matter what the label promised. This is one of the reasons we push homeowners to think of the subfloor conversation as the control panel for the whole project.
In Spring Valley, this conversation is more relevant than it sounds. The housing stock spans several decades – homes from the late 1970s sitting next door to houses finished in the 2000s and 2010s. Each generation of construction used different slab prep practices, and older slabs often lack the vapor barrier detail that newer construction includes. Two houses on the same street, built twenty years apart, can need completely different preparation before the same floor goes down. If your installer skips the moisture and flatness checks and jumps straight to the product pitch, something important is being left out.
Subfloor also controls the flatness of the finished floor. Every minor dip and every high spot translates through thinner flooring, particularly click-lock products. The visible tell is a hollow sound underfoot or a soft click when you walk. The invisible tell is a locking joint that’s slowly working itself loose. Neither shows up on install day. Both show up a year later.
Moisture Testing: What the Numbers Actually Mean
Concrete constantly releases moisture vapor from the soil below. That moisture either passes through the slab into your home or gets trapped under the floor you just installed. If it’s trapped, it does damage. The point of moisture testing is to measure how much is coming through and whether your chosen floor can tolerate it.
Two tests are standard, and they measure different things:
- Calcium chloride test. A small dish of calcium chloride is sealed under a plastic dome on the slab for a set period. The dish absorbs moisture vapor, is weighed before and after, and the change gives a moisture vapor emission rate. It’s been the industry standard for decades, and it’s still common on residential jobs.
- RH probe (relative humidity) test. A small hole is drilled into the slab, a probe is inserted, and the probe reads the humidity inside the concrete itself. This is a more direct measure of what the slab is doing internally and is often used alongside or instead of calcium chloride.
Both are valid; they measure different aspects. Some manufacturers spec one, some accept either, and some require both on certain products. What matters for you as the homeowner is that the test gets done before a product is committed. If the reading comes back above what the product allows, the fix isn’t a better floor – it’s a moisture mitigation system or a different product category.
Product sensitivity differs. Broadly:
- Luxury vinyl plank (COREtec, LifeProof, Karndean): generally more tolerant than hardwood, but tolerance is not immunity. A slab transmitting a lot of moisture can still lift or telegraph through vinyl. Standing water and moisture from below still have to be dealt with.
- Engineered hardwood: more moisture-sensitive than LVP. Adhesive choice matters; the wrong glue over a wet slab shows up as cupping or curled edges.
- Tile (Daltile and similar): naturally moisture-resistant as a finished surface, but the thinset and the bond matter. Moisture vapor can still break the bond between tile and slab if the slab is wet enough.
- Carpet: less commonly installed direct-glue over slab in Spring Valley. Where it is, moisture vapor can cause adhesive failure and odor. Tack strip and pad installations handle this better because vapor isn’t trapped the same way.
If you’re doing flooring installation Spring Valley in an older home, ask specifically whether the installer plans to test the slab. A quote that skips that step is a quote built on a guess.
Flatness Tolerances and Why 3/16 Inch Over 10 Feet Matters
Flatness is the second variable that most homeowners and too many installers underestimate. The industry threshold that matters most is 3/16 inch of deviation over 10 feet – that’s a little over an eighth of an inch across the length of a typical sofa. Under that, almost any product installs cleanly. Over it, several product categories start to fail.
Concrete slabs don’t pour perfectly flat. They crown at high points, dip at the corners of rooms, and often have a slight slope for drainage built in near a garage or exterior wall. None of that is a defect; it’s the nature of concrete. What matters is whether the flatness falls inside the tolerance your product requires.
Where flatness goes wrong, you see two hallmark failures:
- Click-lock failures (LVP and laminate). A click system relies on the locking tabs staying aligned. Over a dip, the floor floats slightly and the tabs stress. Over a high spot, the floor rocks and the tabs crack. Both look like the product failed. Usually the subfloor is the real culprit.
- Tile lippage. One edge of a tile sits higher than its neighbor. It’s more than cosmetic – lippage catches bare feet and makes the floor feel cheap. The fix is proper flatness prep before thinset goes down, not a heavier grout line after.
Spring Valley homes built in different decades show different flatness patterns. Older slabs tend to have more micro-variations from long-term settling and remodel patches; newer slabs tend to be smoother at the pour but can have construction-era ridges where formwork wasn’t perfectly aligned. Neither pattern is predictable by year alone. The straightedge tells you what actually matters, room by room.
Self-Leveling Compound: When It’s Required and What It Adds
Self-leveling compound is a pourable cementitious material that fills low spots and flattens the slab to spec. When it’s needed, it’s not optional; skipping it means the floor fails. When it’s not needed, it’s a real line item that shouldn’t be in your quote.
Typical situations where a subfloor needs self-leveler:
- The slab deviates more than the product’s allowed tolerance (again, 3/16 inch over 10 feet for most residential products).
- There are cracks, spalls, or patchy areas that need filling before any covering goes on.
- The slab has a slope or crown that would show through a rigid floor.
- An old adhesive, thin-set, or floor patch is bonded to the slab and can’t be fully removed but needs a smooth cap.
What it costs: it’s a per-square-foot line item, priced by the bag and by the square footage covered. We’re not going to quote a number here because it depends on how uneven your slab is and how much thickness it takes to correct – and because a written estimate is the only number that means anything. What we will say is that a full-floor leveling job on an older Spring Valley slab is a real cost line, not a rounding error.
The tell that a quote is incomplete: an older slab, deep dips or ridges, a click-lock product on the invoice, and no self-leveling line. That combination usually means the installer either missed the flatness check or is planning to install over the problem and hope. Ask directly, before you sign, whether the slab was checked with a straightedge and what the readings were. A good installer won’t be annoyed by the question.
Vapor Barriers and Moisture Mitigation Membranes
There’s a difference between what a product spec sheet requires and what your specific slab actually needs. Spec sheets are written for a range of conditions. Your slab is a single, specific condition. Getting that match right is one of the quiet judgment calls that separates a good installation from a compromised one.
Vapor barriers are the sheet materials that go under certain floors to slow moisture vapor from coming through the slab. Some products have an attached vapor barrier in the underlayment pad. Some products require a separate barrier. Some products don’t need one because their adhesive system handles moisture vapor differently.
Moisture mitigation membranes are different – they’re applied to the slab itself (usually as a rolled-on or troweled-on coating) to seal the concrete and cap moisture vapor transmission below a threshold. They’re used when the slab is too wet for the intended floor even with a barrier underneath. They add a real line item to the estimate, and they’re often the difference between a floor that works and a floor that lifts.
When a vapor barrier is enough versus a mitigation membrane being required comes down to three things:
- What the slab is doing – the moisture readings from the calcium chloride or RH probe tests.
- What the product spec allows.
- What the adhesive or underlayment system requires in combination with the product.
In Spring Valley, older slabs frequently lack the vapor barrier detail that newer construction includes. That doesn’t automatically mean mitigation is required, but it does mean the test has to happen before the answer is known. If your installer skips it, they’re guessing, and guessing on a slab often turns into a call-back six months later.
How Your Subfloor Changes Your Product Options
Here’s the practical version. Different subfloor conditions open and close different product categories. This is a rough guide – the actual determination is made at the estimate visit – but it’s the shape of the conversation.
- Dry, flat slab: most products are on the table. Carpet (Shaw, Mohawk), tile (Daltile), LVP (COREtec, LifeProof, Karndean), laminate (Pergo, Armstrong), and engineered hardwood all work.
- Dry slab, moderately uneven: self-leveling or a leveling underlayment opens most options. Tile is often preferred because thinset bed forgives small variations.
- Moderately wet slab (readings above some product specs): LVP with a required moisture barrier is often still viable. Hardwood becomes riskier. Mitigation membrane brings back more of the catalog.
- Wet slab requiring mitigation: the mitigation system is installed first, then almost any product can follow. Without mitigation, product options shrink fast.
- Plywood over slab: nail-down products open up, but the plywood needs to be dry and stable. Trapped moisture here is a serious problem.
- Wood joist deck: tile can work with proper underlayment, but flex is a real issue. LVP and engineered hardwood work well. Carpet is the easiest install on joists by far.
What we’ve seen over the years is that homeowners usually start the conversation asking which brand is best. The better question is what the subfloor supports. From there, the answer narrows to specific brands: nine of them in our case, spanning Shaw, Mohawk, COREtec, LifeProof, Karndean, Pergo, Armstrong, Daltile, and Mannington. That breadth is exactly why the subfloor conversation is worth having – it gives us room to say “this product actually works for your slab” rather than steering you toward whatever a single-brand showroom happens to sell.
The right floor for the room, given the room’s slab, is the floor that doesn’t have to fight the subfloor for the next fifteen years. That’s the test.
If you’re coordinating carpet, tile, and hardwood refinishing in different rooms, that answer is different per room. Carpet installation over a joist system and tile flooring installation over a slab ask very different things of the subfloor, and they’re worth planning as separate scopes even inside one project.
Common Mistakes to Avoid
- Choosing the floor before checking the slab. Homeowners fall in love with a product before anyone tests the floor they’re going to put it on. Then the readings come back and the product isn’t viable. Start with the subfloor, then the product.
- Trusting a quote that doesn’t mention moisture testing. Any slab-on-grade Spring Valley installation should have a moisture test behind the price. If the estimate doesn’t say how the slab was tested, ask. If nobody tested it, the quote is a guess.
- Skipping the straightedge check. Visual flatness is deceptive. A floor that looks flat doesn’t mean it is. The 10-foot straightedge is the only way to know.
- Assuming LVP is waterproof in every application. It’s water-resistant, and that’s a real advantage. But standing water and moisture from below still have to be dealt with, especially in kitchens and over older slabs. Water on top and water from below are two separate problems.
- Installing tile over a slab with a visible crack and no crack isolation plan. Tile doesn’t flex. A moving crack in the slab will telegraph through the tile or break the bond. Crack isolation membranes exist for exactly this reason – as do honest conversations about whether tile is the right choice over that slab.
- Skipping self-leveling to save a line item. The savings on the estimate becomes the problem on the floor. Click-lock failures and tile lippage are much more expensive than the leveling compound that prevents them.
- Assuming vapor barriers are optional on every slab. Product spec sheets dictate the requirement. Older Spring Valley slabs often need them; some products don’t. Assumptions in either direction cost money.
When to Call a Professional
Some home projects are fine to handle yourself. Subfloor evaluation and preparation usually isn’t one of them. The moisture testing, straightedge readings, and product matching are all judgment calls that require training to make accurately, and getting them wrong means replacing a floor that “looked fine” at install. Call a professional if any of the following sounds like your situation:
The slab is older than the 1990s and there’s no record of what was installed under the previous floor. There’s visible cracking, spalling, or patchy repair work on the slab. You’ve noticed a musty smell in a room with direct concrete contact. You’re planning to use a click-lock product on anything but a fresh, verified slab. You’re planning tile over a slab with visible cracks. You’re doing a multi-room project and want the whole plan – carpet, tile, and hardwood refinishing – coordinated with a single set of subfloor checks. Or you’ve had a floor fail before and you’re not sure why.
Flooring Installation Spring Valley offers free estimates in Spring Valley. Call (844) 797-4453. We answer 24/7. Fast dispatch from 7am to 7pm, Sunday through Friday.
Frequently Asked Questions
Check at a floor vent, a doorway transition, or a stair nose. If you see bare concrete, you have a slab. If you see a wood deck over joists, you have a wood floor system. If you see wood on top of concrete, you have plywood-over-slab. In Spring Valley, most single-story homes are slab-on-grade. If you can’t tell, that’s a question for the estimate visit rather than a guess.
Yes. Concrete can transmit moisture vapor even when it looks and feels dry on the surface. Moisture vapor transmission is a process that happens below the surface, and it doesn’t show up visually until a floor has already been compromised. A calcium chloride or RH probe test is the only reliable way to know what your slab is doing. Call (844) 797-4453 to set up a free estimate that includes a moisture check.
Often yes, with caveats. Tile over slab works when the slab is dry enough, flat enough, and free of major cracks or movement issues. Crack isolation membranes handle minor cracking. Moisture mitigation handles excess vapor. Tile’s finished surface resists water well, but the bond between thinset and slab still needs correct conditions. The estimate visit will confirm which of those apply to your slab.
It’s a per-square-foot line item that depends on how uneven the slab is and how much coverage is needed. It’s not a fixed number – it’s a written estimate item. On a mostly flat slab, it may not be required at all. On an older, uneven slab, it can be a meaningful cost line. Call (844) 797-4453 for an exact quote. Estimates are free.
Almost always because of the subfloor, not the product. Click-lock systems rely on flatness within tolerance and alignment holding steady. Over a dip or a high spot, the locking tabs stress and eventually crack. The brand on the box doesn’t matter once the slab goes out of spec. COREtec, LifeProof, and Karndean all perform well over properly prepped slabs, and all can fail over bad ones.
A vapor barrier is a sheet material placed under certain floors to slow moisture vapor. A moisture mitigation membrane is a coating applied directly to the slab to seal it when the readings are too high even with a barrier. One is an underlayment product; the other is a slab treatment. Which one you need depends on your test results and the floor you’ve chosen.
The Bottom Line
The floor you choose matters. What’s underneath it matters more. Three things determine whether any flooring project holds up: which subfloor type you have, how much moisture your slab is transmitting, and whether it’s flat within tolerance. In Spring Valley, the range of slab conditions across different construction decades makes that evaluation more important than it is in newer, more uniform housing stock. Get the moisture test, get the straightedge check, ask the questions, and don’t accept a quote that skips either. Do that, and the floor you fall in love with will actually stay put.
If you’re planning a floor project in Spring Valley and want the subfloor evaluated as part of a real, written estimate covering both product and prep, call us. Our technicians have up to 13 years of experience with slab, plywood, and joist subfloor systems, and we’ll walk you through what your slab actually needs before a single bag of compound is opened.
Call (844) 797-4453 to schedule your free estimate. We answer 24/7. Fast dispatch from 7am to 7pm, Sunday through Friday.
Written by the team at Flooring Installation Spring Valley.
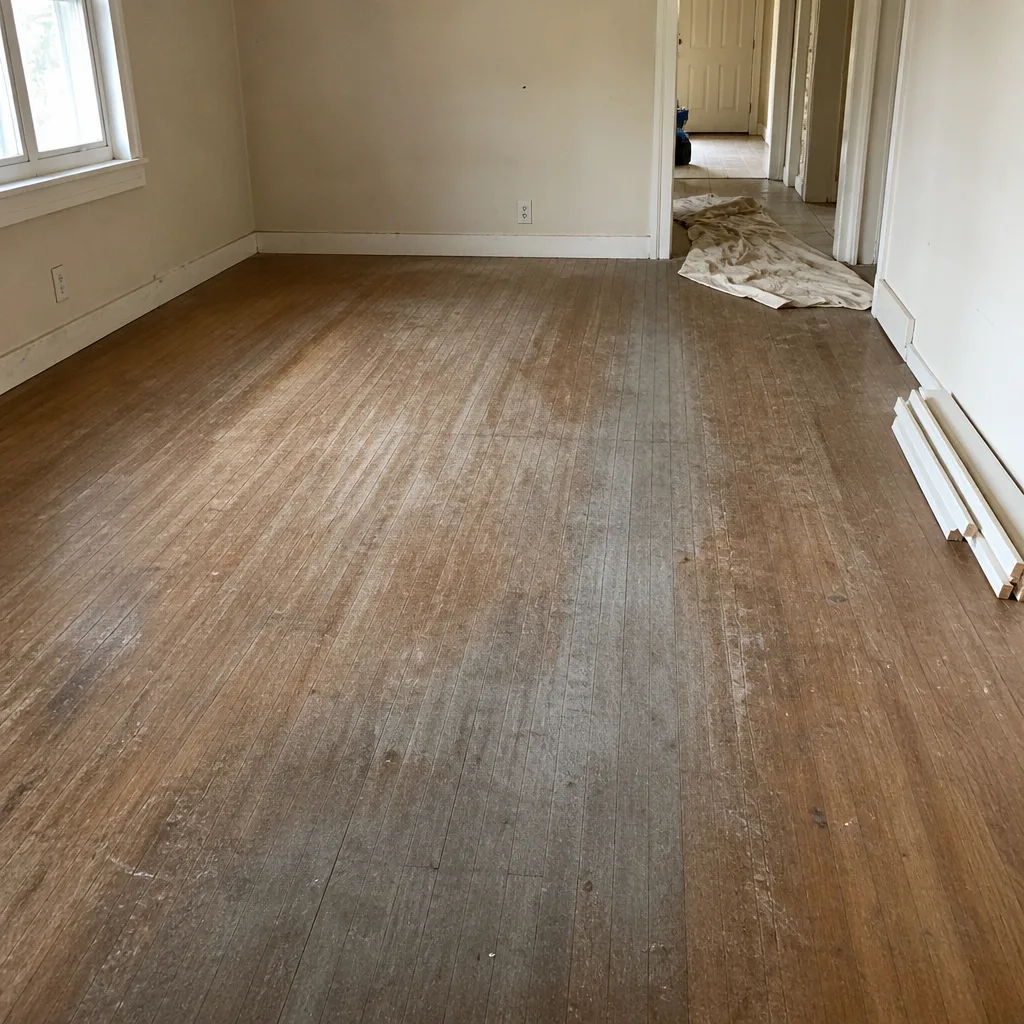
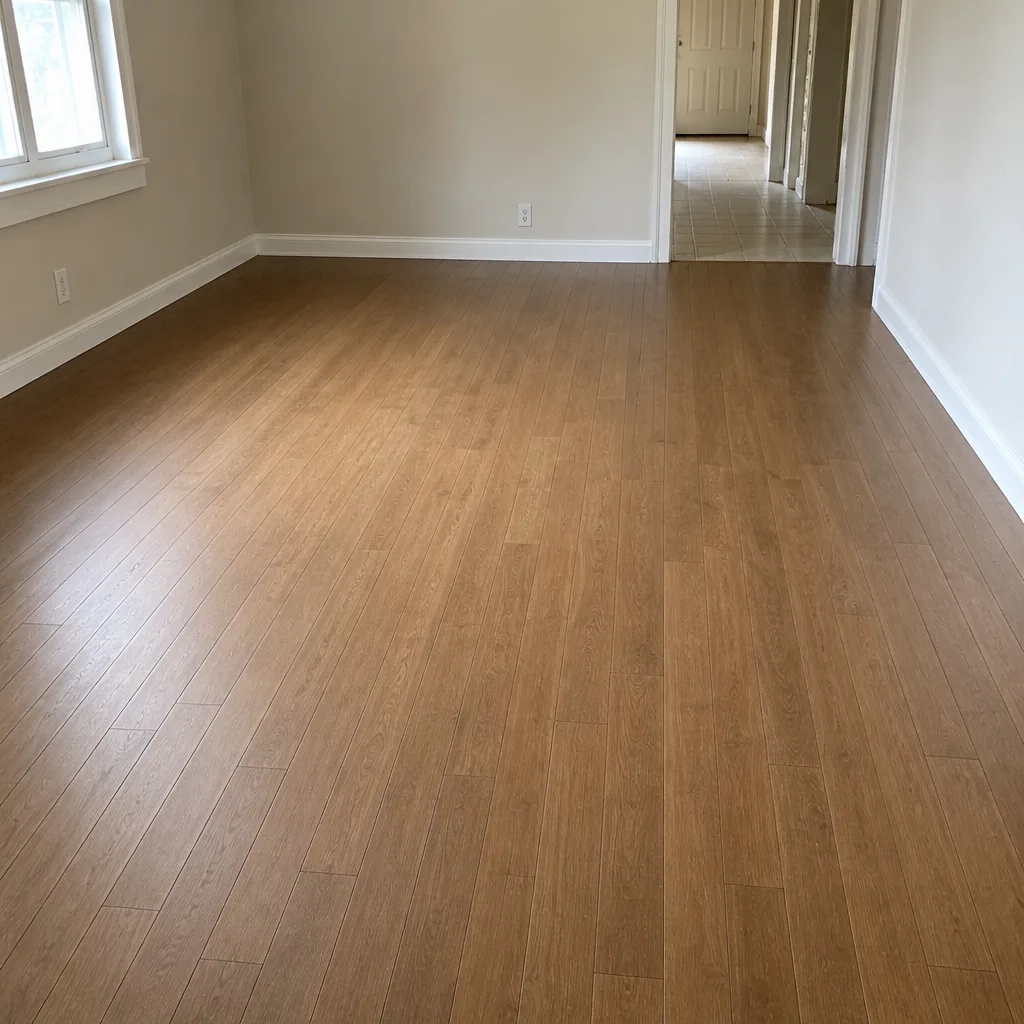
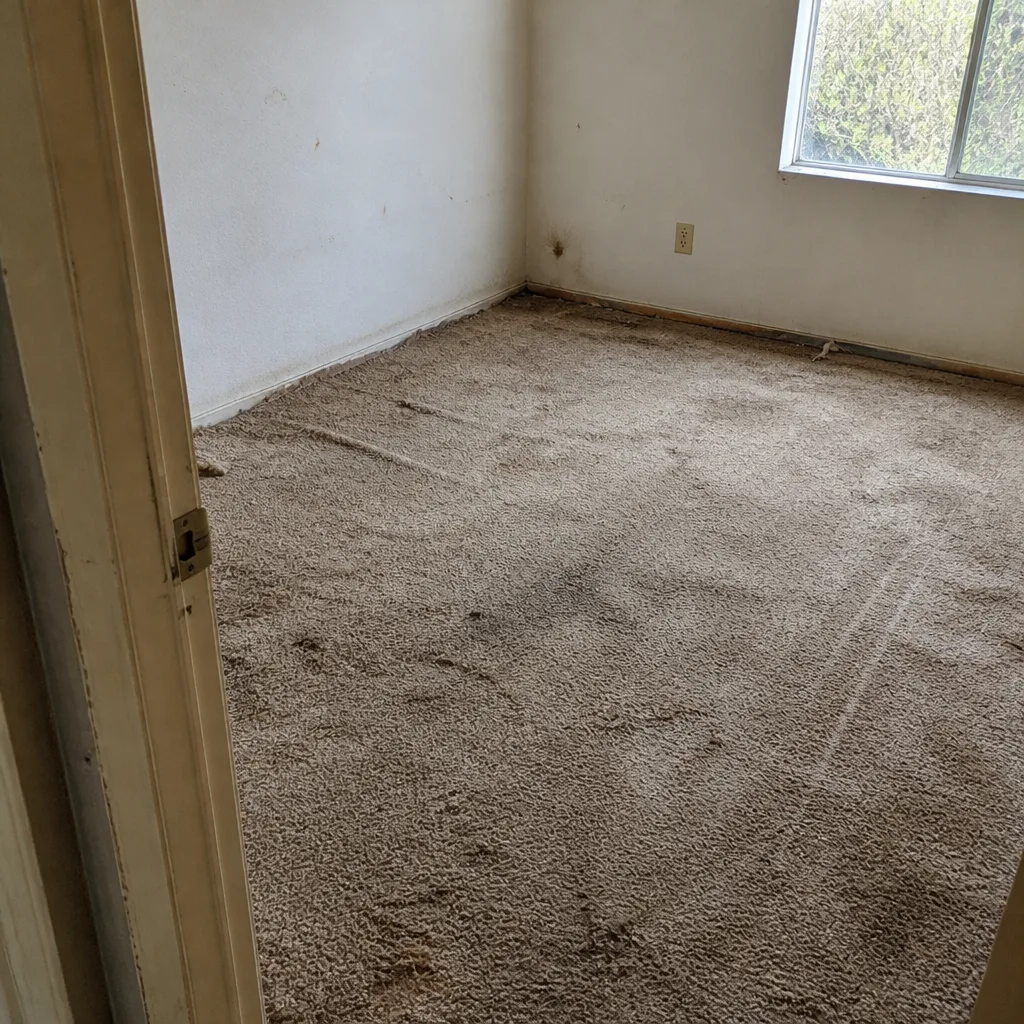
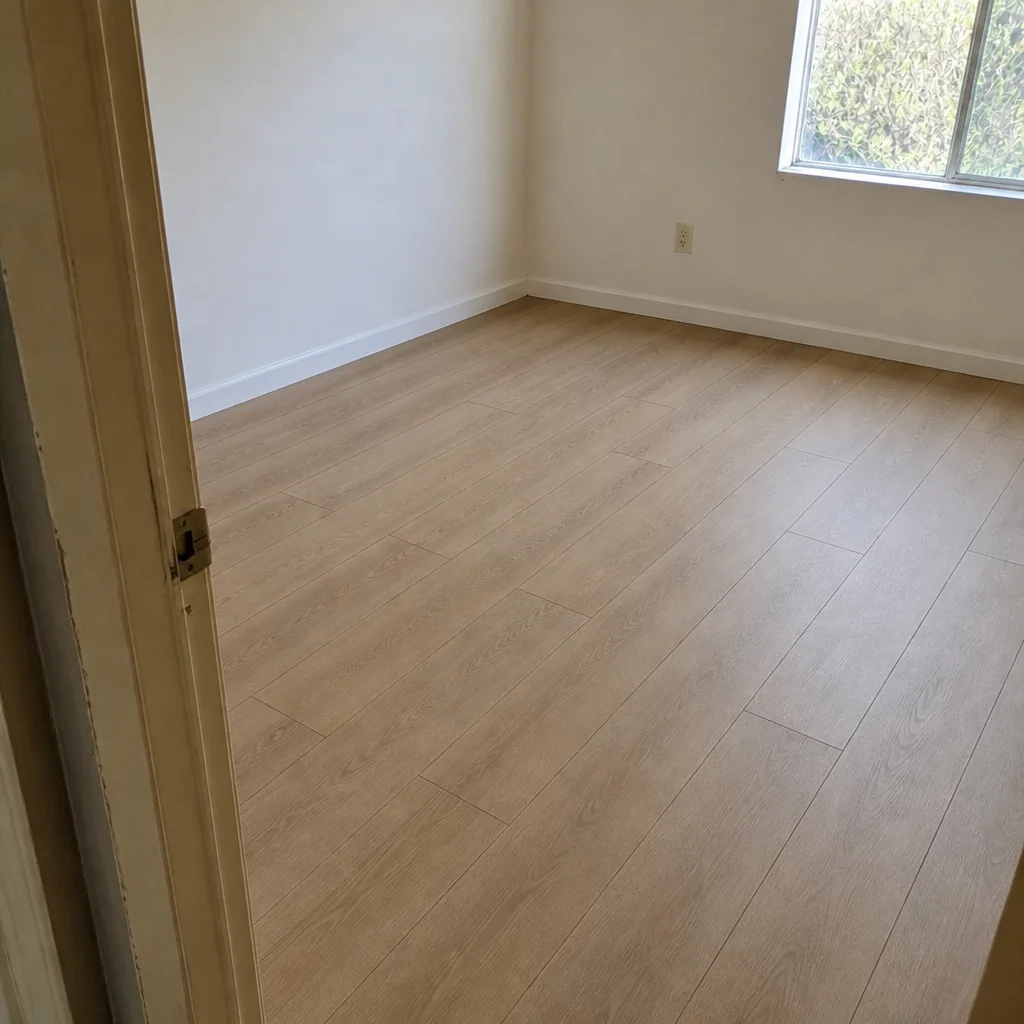
See the difference
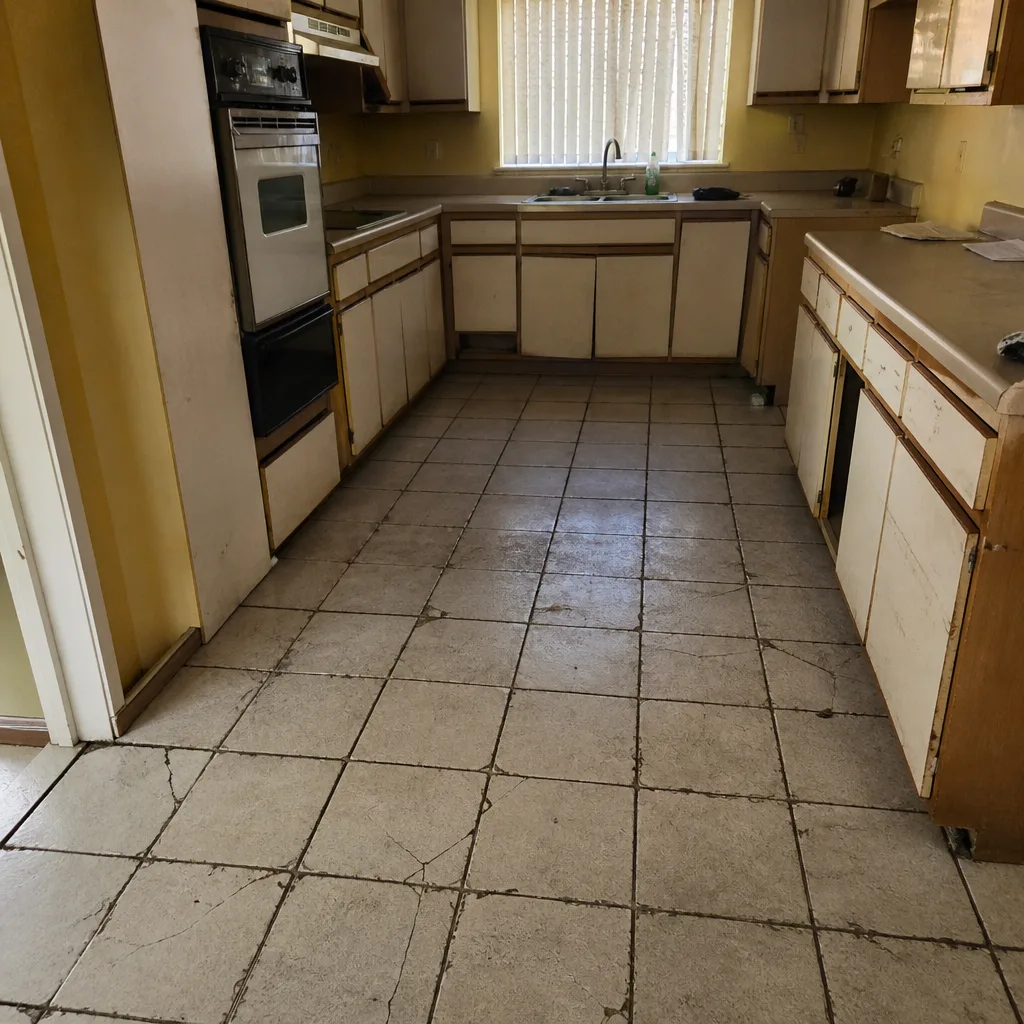 Before
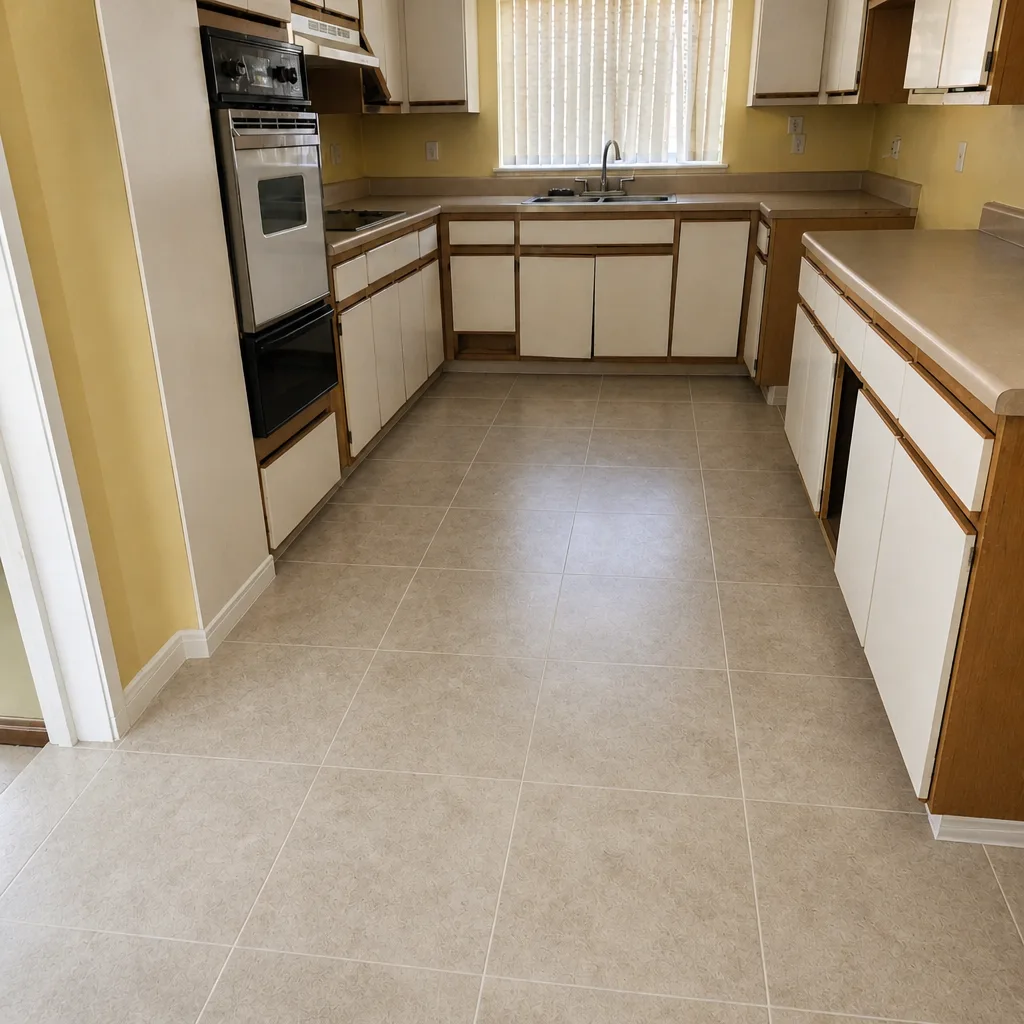 After
 Before
 After
 Before
 After