
Last updated November 17, 2026
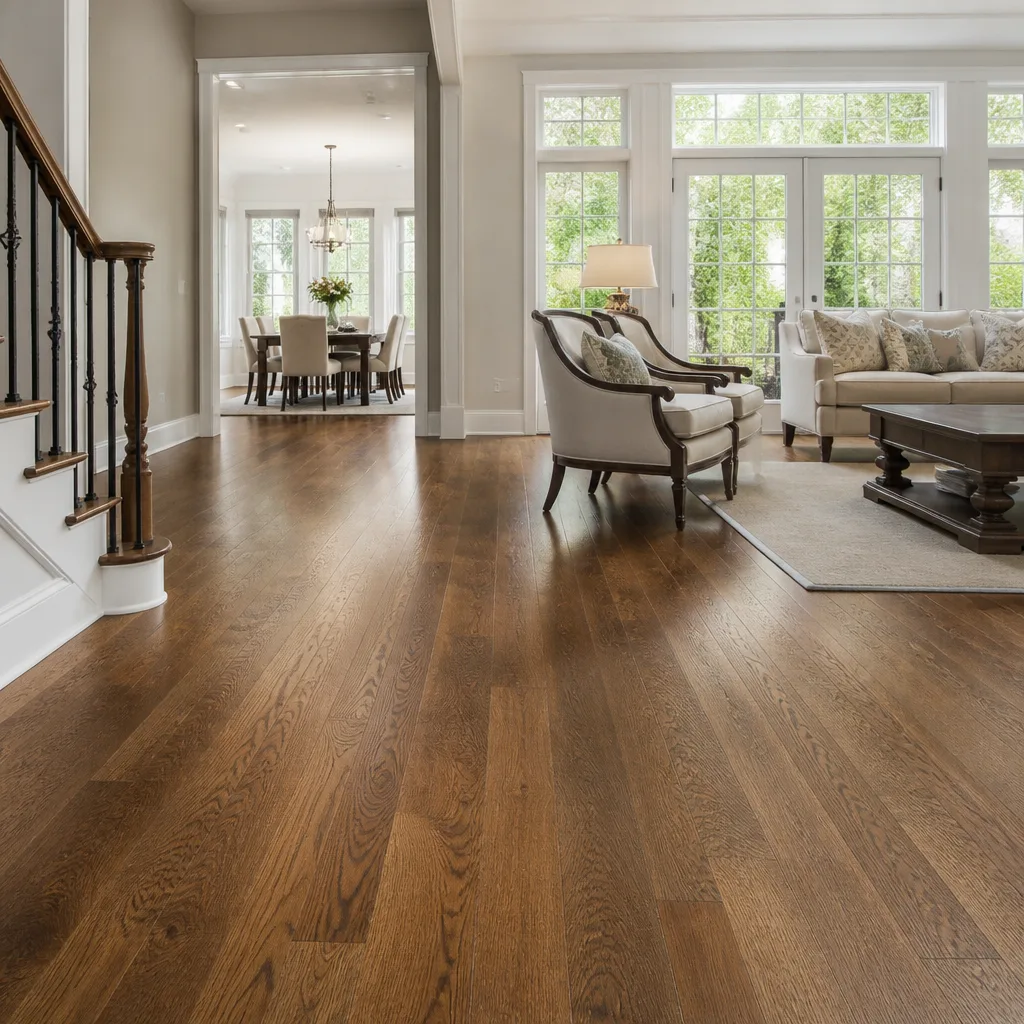 Hardwood
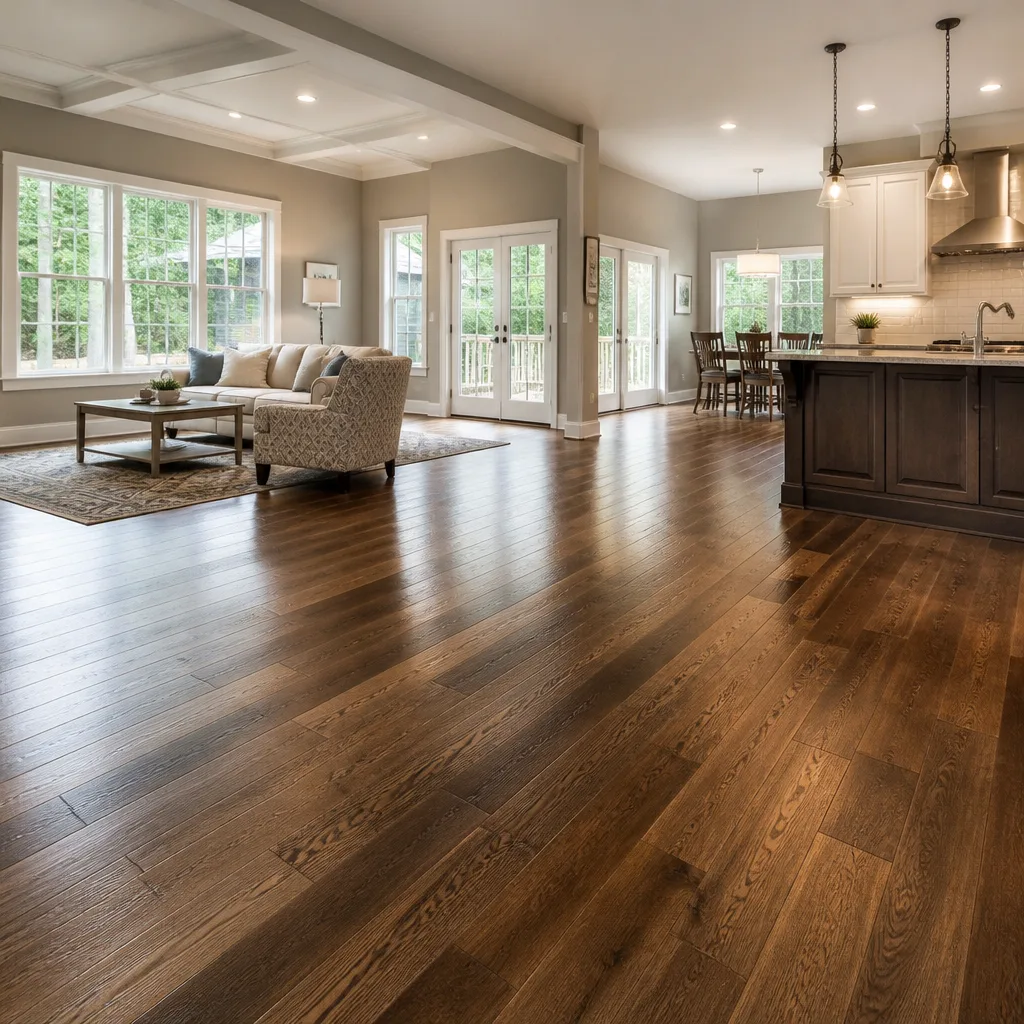 Engineered hardwood
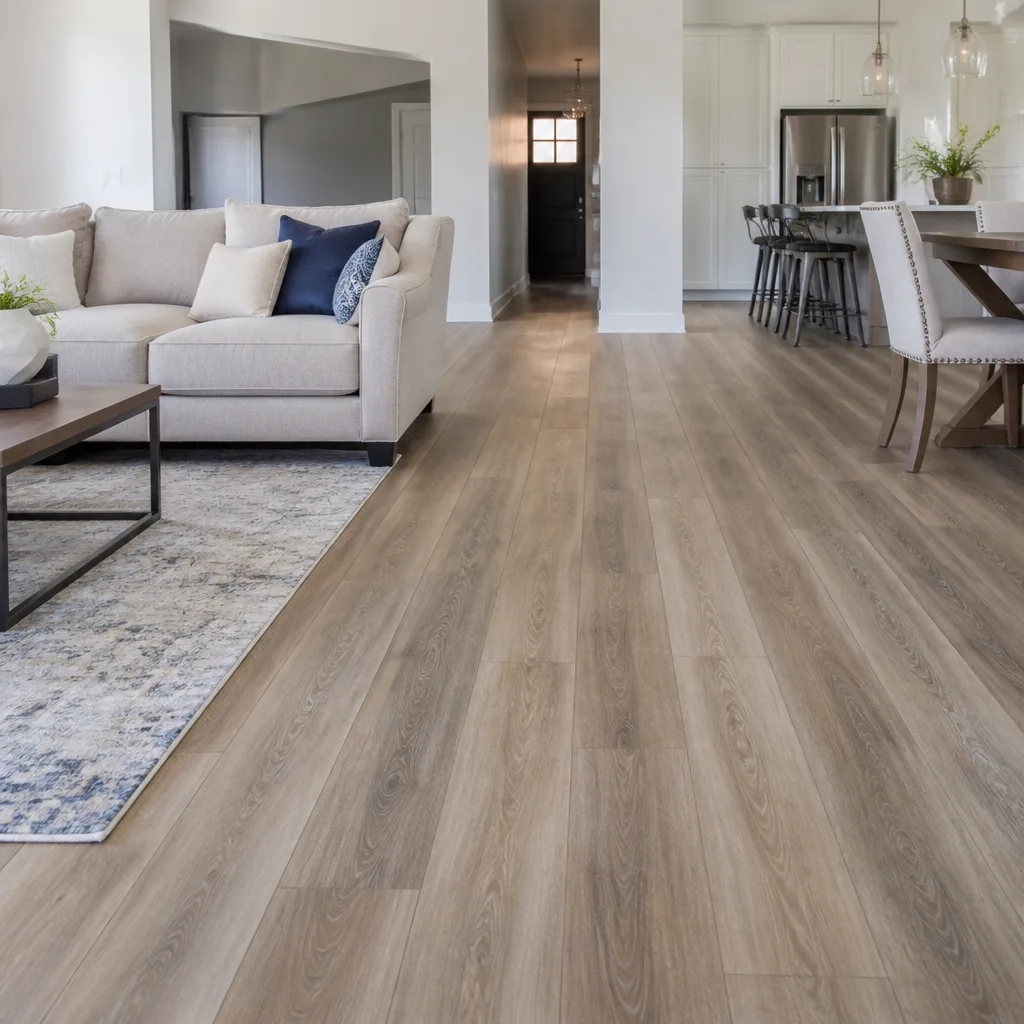 Luxury vinyl plank
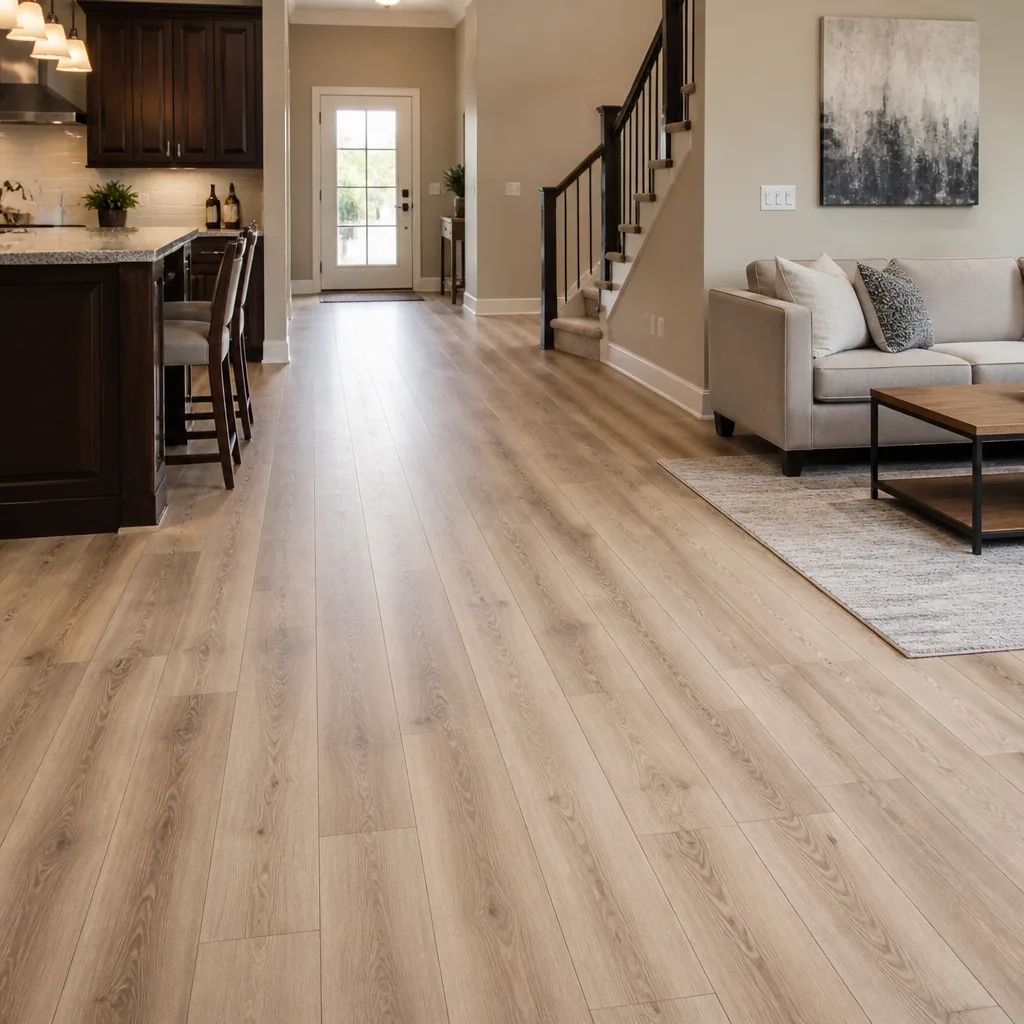 Laminate
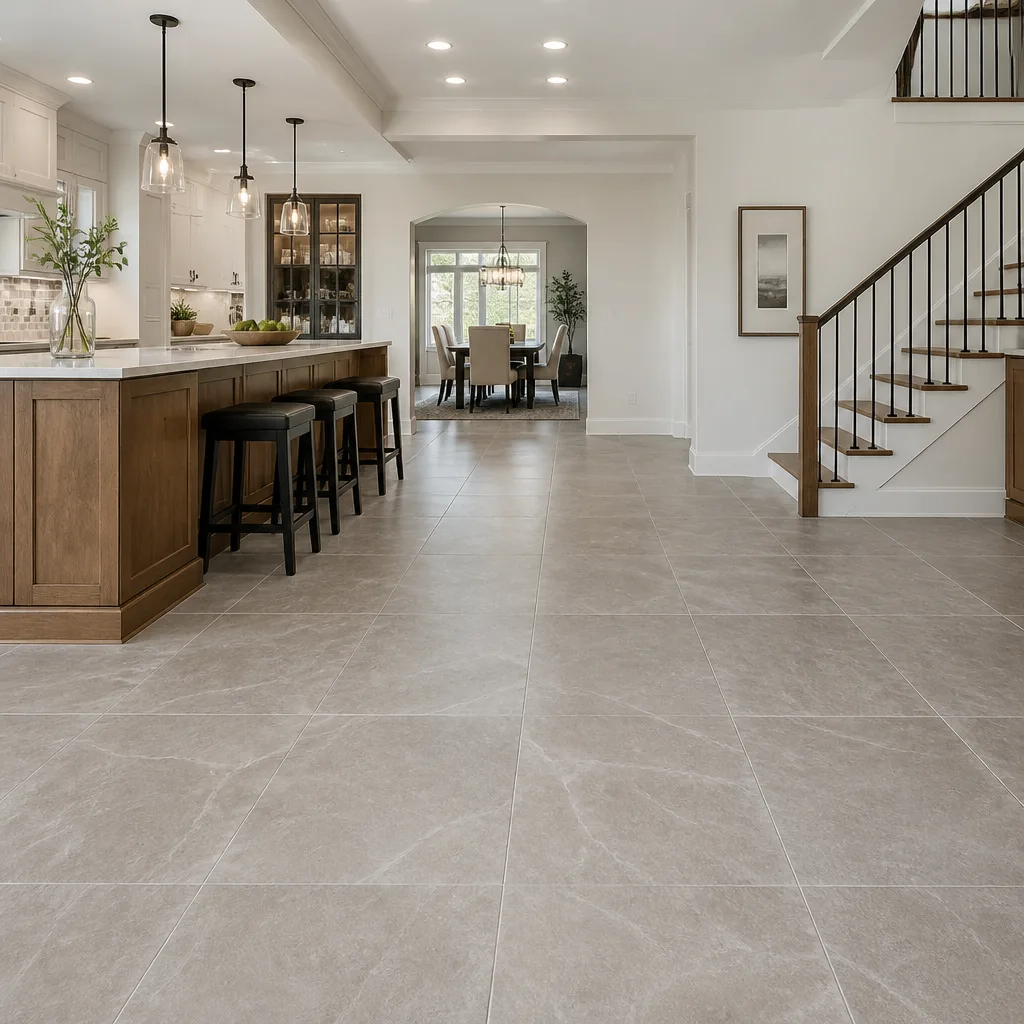 Porcelain tile
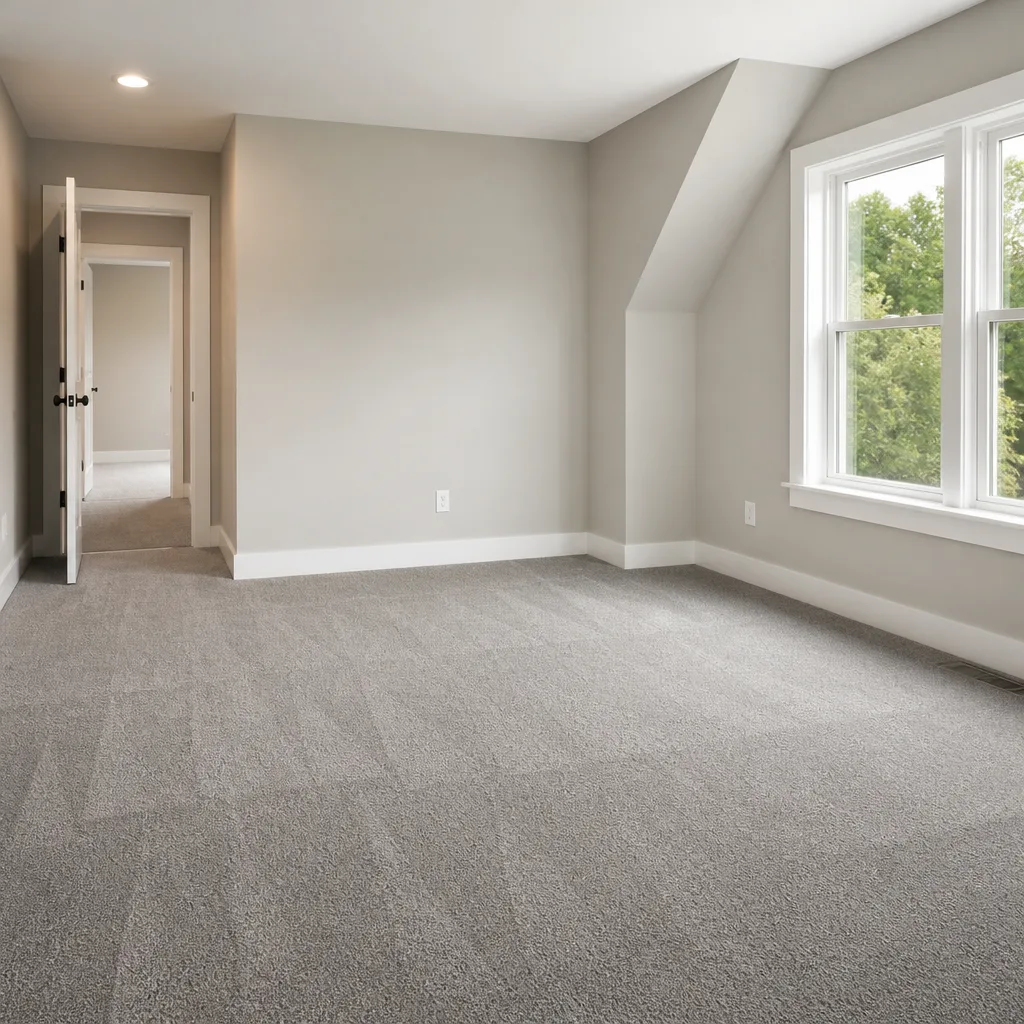 Carpet
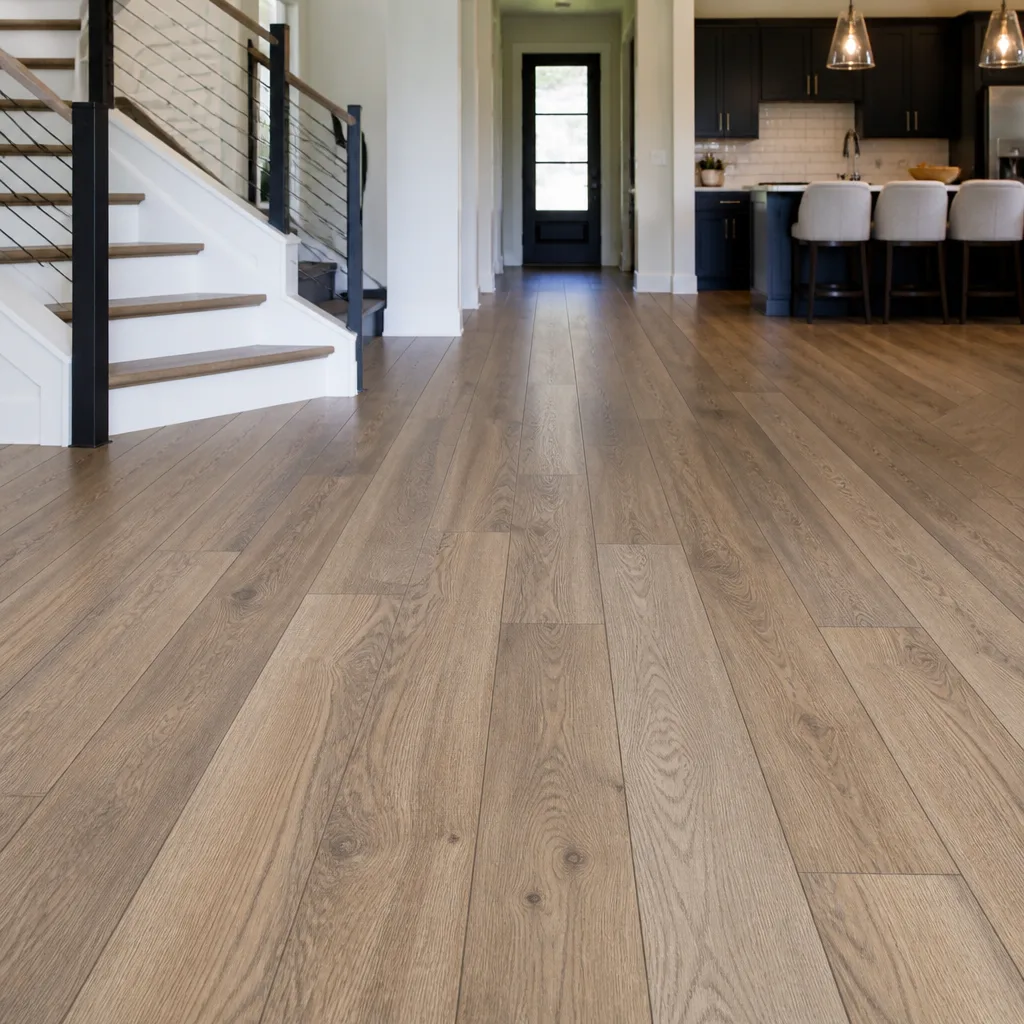 Shaw
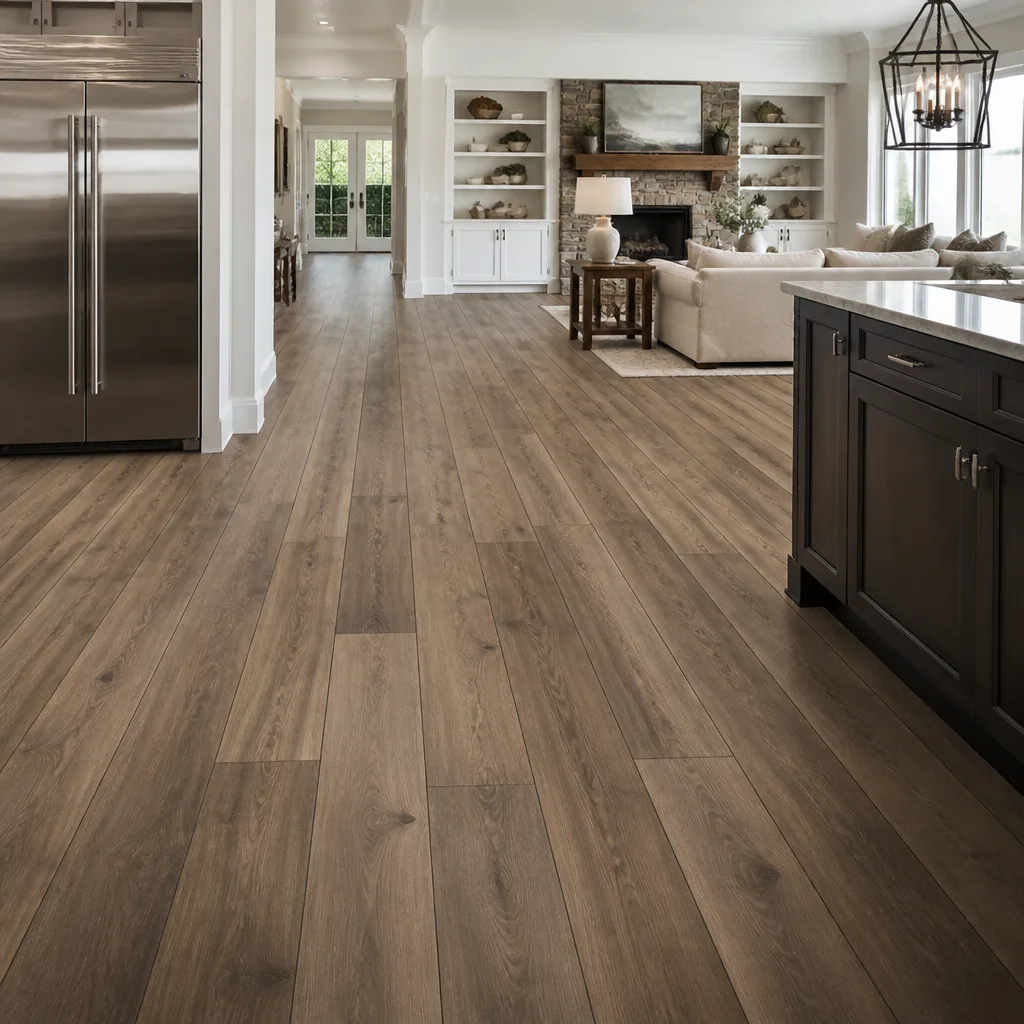 Mohawk
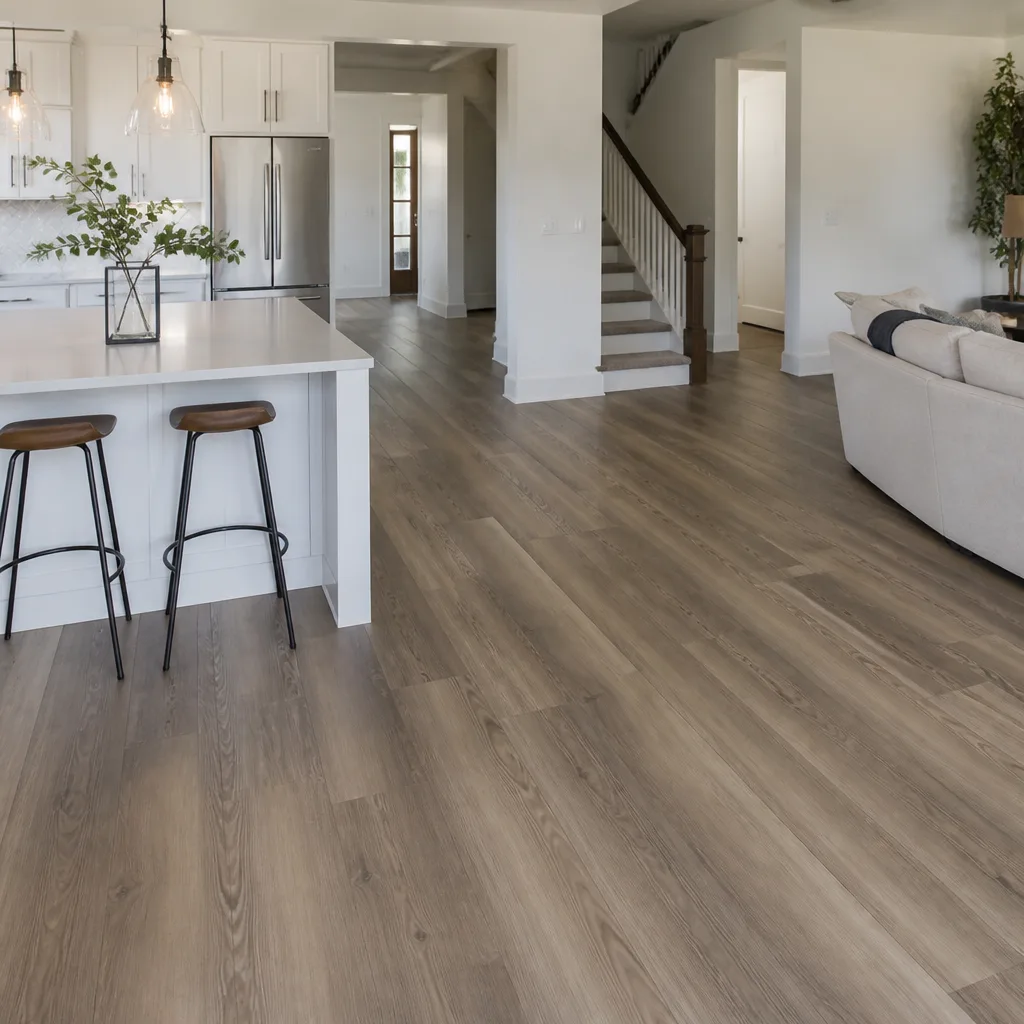 COREtec
 Pergo
Free in-home measure and written estimate: Shaw, Mohawk, COREtec and Pergo lines compared on your own rooms, with carpet, tile, vinyl plank, laminate and hardwood laid out side by side
Get your free estimateHow to Prepare Your Home for a Flooring Installation in Spring Valley
The most common first-year call we get is a floor that feels wrong: a seam opening, an edge lifting, a plank with a gap you could slide a dime into. Nine times out of ten it traces back to prep, and specifically to one step the homeowner never knew mattered. A room that was too warm, too dry, or hurried back into service before the material settled. Spring Valley sits inside a desert climate with air conditioning running hard through most of the year, and that indoor environment changes what your floor needs before it goes down. This guide covers what actually protects your investment, not just what protects the crew’s schedule.
Quick Answer
Before a flooring installation in Spring Valley, clear the room completely, keep the home at its normal living temperature for several days around the install, let your flooring acclimate on site for 24 to 72 hours depending on the product, and check the subfloor for moisture with an inexpensive meter. Confirm with your installer in advance who removes baseboards and how transitions at doorways and other rooms will be handled. These steps prevent the callbacks that show up months after the crew leaves.
Styles & brands we work with
- Hardwood
- Engineered hardwood
- Luxury vinyl plank
- Laminate
- Porcelain tile
- Carpet
- Shaw
- Mohawk
- COREtec
- Pergo
Table of Contents
- Why acclimation matters more in Spring Valley than most guides admit
- Getting your HVAC right before and during the install
- Testing subfloor moisture yourself before demo day
- Furniture removal: what your installer handles and what you handle
- The baseboard and transition strip conversation
- Acclimation and prep by product type
- A realistic prep timeline for Spring Valley homeowners
Why acclimation matters more in Spring Valley than most guides admit
Acclimation means letting your flooring sit in the room where it will be installed, unwrapped or partially unwrapped as the manufacturer directs, long enough for the material to reach the temperature and moisture content of that room. It sounds like a formality. It isn’t. Flooring is a hygroscopic material for most product types, meaning it takes on and gives off moisture from the air and shifts in size as it does. Install it while it’s still carrying the conditions of a warehouse or a truck, and it will move after it’s nailed, glued, or clicked into place. That movement is what opens seams, cups edges, and lifts planks.
In most of the country, acclimation is described as a humidity-balancing step. Spring Valley is different. Our homes spend most of the year sealed against dry desert air with the air conditioning running, and indoor relative humidity can sit considerably lower than outdoor humidity, especially through the hottest months. That gap is exactly what a wood or laminate floor is sensitive to. A floor installed in a room at one moisture level and then exposed to the household’s usual dry, cool air will shrink and pull. This is why we treat acclimation as a structural step here, not a paperwork formality, and why flooring installation Spring Valley conversations should always include a clear acclimation window before the schedule is locked.
A few practical rules we hold to:
- Acclimate the flooring inside the room it will be installed in, not the garage, not the patio, not a storage unit.
- Keep the home’s HVAC running at its normal living setpoint starting several days before delivery and running throughout the install.
- Follow the product’s written acclimation instruction. The general window is 24 to 72 hours, but the product documentation and the written estimate govern.
- Stack cartons as the manufacturer directs. Some products want cartons stacked and spaced; others want them laid flat.
If a project schedule is tight, the acclimation window is the wrong thing to compress. It’s cheaper to wait two extra days than to replace a buckling floor.
Getting your HVAC right before and during the install
Your home’s HVAC system is part of the flooring prep. Not metaphorically. It’s the piece of equipment that sets the temperature and moisture condition of the room the flooring has to live in. Construction temperature is not living temperature. A room at 90 degrees during demo, with windows open and the AC off, is not the same room the floor will spend the next ten years in. If the flooring acclimates to one condition and then lives in another, the floor will move. That’s the whole story in one sentence.
Here’s what we ask Spring Valley homeowners to do:
- Turn the HVAC on and set it to the temperature you actually live at, starting at least three days before installation and running through the full install.
- Keep the thermostat setpoint steady. Don’t drop it 10 degrees because the crew is hot, and don’t crank the heat because the morning was cool.
- Leave the system running overnight and during the install. Do not shut it off to save energy for a few days.
- If any room lacks dedicated heating or cooling, tell us in advance. Some rooms need a temporary setup, and the estimate should reflect it.
One more piece: filtration. During demo and install, dust builds up fast. Change the HVAC filter before installation day and again when the job is done. That’s not a flooring rule; it’s a common-sense rule that saves your air handler from pulling a month’s worth of drywall dust, wood flour, and cardboard scraps through the return.
Spring Valley summers run hot enough that some homeowners leave the AC off in unused rooms to save on the bill. For the week around your flooring install, don’t. Get every room in the home to its normal living temperature and keep it there through the job.
Testing subfloor moisture yourself before demo day
Subfloor moisture is the prep step almost every homeowner guide skips, and it’s the one that voids warranties. A floor installed over a subfloor that’s holding too much moisture will fail from underneath. Cupped edges, adhesive failure, mold at the perimeter. It doesn’t look like an installation defect. It looks like the floor betrayed you. And on paper, it isn’t covered.
You can do some of the work yourself with an inexpensive handheld moisture meter, available at any hardware store. Here’s what to check before demo day:
- Concrete slabs: Test in several spots across the room, not just one. Reading variances across the slab tell you more than a single number. Take particular care around exterior walls, near plumbing penetrations, and in any room over a garage or crawlspace.
- Wood subfloors: Test along the perimeter of the room and near any plumbing fixtures. Look for soft spots, dark staining, or a musty smell. Any of those is worth a professional look before flooring goes over the top.
- Bathrooms and kitchens: Test near the toilet flange, under the sink, and near the dishwasher. Small hidden leaks and old water damage are the most common surprises in Spring Valley homes.
- Below grade and slab-on-grade rooms: Extra caution. Slabs wick moisture from below, and a floor that looks dry on top can still fail from underneath.
What the numbers mean depends on the flooring product and its specific moisture limits. We won’t hand you a threshold, because the product documentation and the written estimate set it. What we will say is this: if you test and see wide swings across the room, or elevated readings anywhere, tell us at the estimate. It’s the cheapest way to find out if the subfloor needs a moisture barrier or additional prep before the install day is scheduled.
A professional job includes a moisture check at the estimate, but any earlier you can flag a problem, the more options you have. For related reading, see Spring Valley for how our local approach handles the desert subfloor conditions we see most.
Furniture removal: what your installer handles and what you handle
Clear the room. That’s the rule, and it’s worth walking through what “clear” actually means, because it comes up at every estimate. Installers move the flooring material. They do not move your furniture, and this is a policy point, not a flexibility point. Pianos, aquariums, safes, and that dresser every home seems to have – those are all on you.
Here’s the breakdown we give every customer:
- What you remove: all furniture, area rugs, wall decor, floor lamps, plants, pet beds and bowls, and anything on the floor inside the work zone. Empty the closets that open into the room if their flooring is included.
- What you protect: appliances in kitchens. Refrigerators, ranges, and dishwashers typically stay put during a kitchen floor replacement, but they need to be disconnected and moved off the floor footprint by you or a tradesperson before the crew starts. Plan for a few hours without refrigeration and be sure the water and gas lines to the range and dishwasher are shut off ahead of time.
- What we handle: the flooring material, the demo, and the standard site protections for adjacent rooms, hallways, and doorways within reason.
For a whole-home project, break the work into stages. The rooms you still need to live in can be done later. The rooms you can live without for a few days should be done first. If you have a room that needs to stay functional, keep that room out of the first phase and schedule it for the last.
One more furniture note: appliances aside, empty the room the night before. A crew standing in a room where furniture is still on the floor is a crew that can’t start on time, and a delayed start pushes the whole job back. If you use a furniture mover or a helper for the heavy pieces, budget the day for it.
The baseboard and transition strip conversation
This is the conversation we wish every homeowner had before demo day. It’s also the one that costs the most when it’s skipped. Baseboards and transition strips are where installers and homeowners most often assume different things, and where the misunderstanding shows up two weeks later when you’re looking at a gap at the base of a wall or a doorway threshold that no longer matches the adjacent room.
Here’s what to settle before demo day:
- Baseboard removal. Ask whether the installer removes the baseboards and reinstalls them, removes them and leaves them off for you to reinstall, or works around them with a shoe molding. Each approach changes the final look and the cost. Some installations look cleanest with baseboards off and reinstalled; others work fine with a shoe molding. Say which you prefer at the estimate, not the morning of.
- Doorway transitions. If the flooring changes from one room to the next – carpet in the hall, tile in the bath, LVP in the kitchen – you need a transition strip at every doorway. Ask which type is being used and how it will sit against the adjacent floor.
- Existing thresholds and casings. Old thresholds often get damaged during demo. Talk through whether the installer replaces them or expects you to source matching trim.
- Wall base and drywall condition. Removing baseboards often reveals old drywall, old paint, or nail pops. If you plan to repaint, do it after the floor is in. Not before.
Along with the baseboards, ask about flooring in closets with sliding doors and any built-in cabinetry. A closet that isn’t on the plan gets skipped, and a cabinet that isn’t discussed may end up on top of a floor edge that ought to be under it. Ten minutes of conversation at the estimate saves a callback every time.
Acclimation and prep by product type
Not every floor wants the same prep. Here’s how we think about it category by category, using the brands we actually install. The instructions in the product documentation and your written estimate set the final word; nothing below overrides them.
Carpet
Carpet is the most forgiving flooring on acclimation. It’s a fabric, not a rigid board, and it doesn’t need the same on-site dwell time that wood or laminate does. What it does need is a clean, dry subfloor and a stable tack strip line around the perimeter. If you’re installing carpet in a new construction space, confirm the HVAC is running and the drywall is fully cured before the tack strip goes in. Shaw and Mohawk carpet both perform best when the subfloor is dry and flat, and those are the brands we install most often for bedrooms and living areas. For a full look at the process, see carpet installation.
Tile
Tile prep is about the subfloor. Deflection, flatness, and moisture under the slab matter more here than acclimation. Tile and grout require a stable, dry, flat surface to keep from cracking at the joints later. Daltile porcelain and ceramic are what we install most often for bathrooms and kitchens, and the conversation at the estimate should cover deflection, substrate, and whether a crack isolation membrane is needed. Tile acclimates in the sense that the thinset and grout need the room’s temperature to be stable around installation; the tile itself doesn’t move much. The room temperature should be at its normal living setpoint on install day. More on this on our tile flooring installation page.
Hardwood
Wood moves. That’s the one fact that governs everything else. Wood wants to reach a moisture equilibrium with the room it’s about to live in, and Spring Valley’s dry indoor air creates a real movement range across a year. Wood flooring needs on-site acclimation and a stable HVAC running through the install. Before you choose a new hardwood floor, ask whether your existing wood can be refinished instead – it’s often the smarter move when the structure is sound, and it saves the demo.
Laminate and luxury vinyl plank
Laminate flooring like Pergo and Armstrong is sensitive to moisture under the board and to temperature swings. Acclimate on site according to the product instructions, keep the HVAC running, and don’t let boxes sit on concrete floors without protection. LVP products like COREtec, LifeProof, and Karndean are more forgiving of moisture than wood, but they’re not immune. Standing water, moisture from below, and temperature spikes still have to be handled. Products in this category don’t perform well in unconditioned spaces like garages. If you’re considering them for a Spring Valley home, plan a stable indoor environment around install day.
A realistic prep timeline for Spring Valley homeowners
The prep work is not hard. It’s just sequenced. This is the order we recommend:
- Two to three weeks before install: Finalize product selection and confirm the written estimate. Empty the room you intend to floor first. Identify the appliance disconnections you’ll need.
- One week before: Move furniture out of the work zone. If you’re also repainting, get it done and fully dry. Check the subfloor with a moisture meter in several spots, and flag anything unusual to us.
- Four to five days before: Turn the HVAC to its normal living setpoint and keep it there. Confirm the baseboard and transition plan and have any unresolved details settled.
- Delivery day: Take delivery of the flooring and place the cartons in the room where they’ll be installed, following the product’s stacking instructions. Close the room to foot traffic and keep the HVAC running.
- Acclimation window: 24 to 72 hours, per the product instructions. Don’t skip the extra day to save time. The written estimate’s schedule accounts for it.
- Install day: Clear the room, clear the hallways, keep pets out of the work zone, and keep the HVAC running. Stay reachable by phone in case a question comes up mid-job.
- After install: Wait for the product’s recommended settling time before moving heavy furniture back, keep the HVAC stable, and replace the air filter.
This is a Spring Valley timeline, which means two things. First, our summer heat and dry indoor air make the acclimation and HVAC steps matter more here than they would in a milder, more humid region. Second, subfloor conditions under desert homes, particularly slabs, are worth testing earlier rather than later. If your project falls in the hottest stretch of the year, budget a few extra days for the settle-in and consider scheduling the carpet rooms and the hard-surface rooms with staggered start days. For a sense of what a full project looks like across carpet, tile, and hardwood refinishing on one schedule, take a look at our main service pages.
Common Mistakes to Avoid
- Letting the floor acclimate in the garage or the patio. Spring Valley garages run much hotter than the living room. A floor acclimated in a garage then installed in a 76-degree living room has already absorbed the wrong environment. Always acclimate inside the room where the floor is going.
- Turning off the HVAC to save money during install. A short-term savings that costs more to correct. Keep the system running through the install and at its normal living setpoint for at least three days after.
- Skipping the moisture meter. A ten-dollar tool that saves thousands. Test the subfloor in several spots, especially in bathrooms and near exterior walls. Flag wide readings at the estimate, not after the floor is down.
- Waiting until install morning to discuss baseboards. Baseboard removal is a get-ahead decision. Ask about it, and about door transitions, when you’re looking at the estimate. Same for closet finishes and cabinet edges.
- Leaving appliances connected during a kitchen floor replacement. Refrigerators, ranges, and dishwashers need to be off the floor footprint and disconnected before the crew starts. That’s a homeowner task or a hired tradesperson task, not an installer one.
- Rushing the acclimation window because a room is needed back. It’s tempting, and it’s the most common reason a new floor gets a callback in the first year. If a room must stay usable, take it out of the first phase of the project rather than compressing the acclimation time.
- Repainting baseboards or walls instead of waiting. Repaint after the floor is installed, not before. Otherwise you risk paint on a brand-new floor and nails, dust, and drywall debris landing on a surface that hasn’t been protected yet.
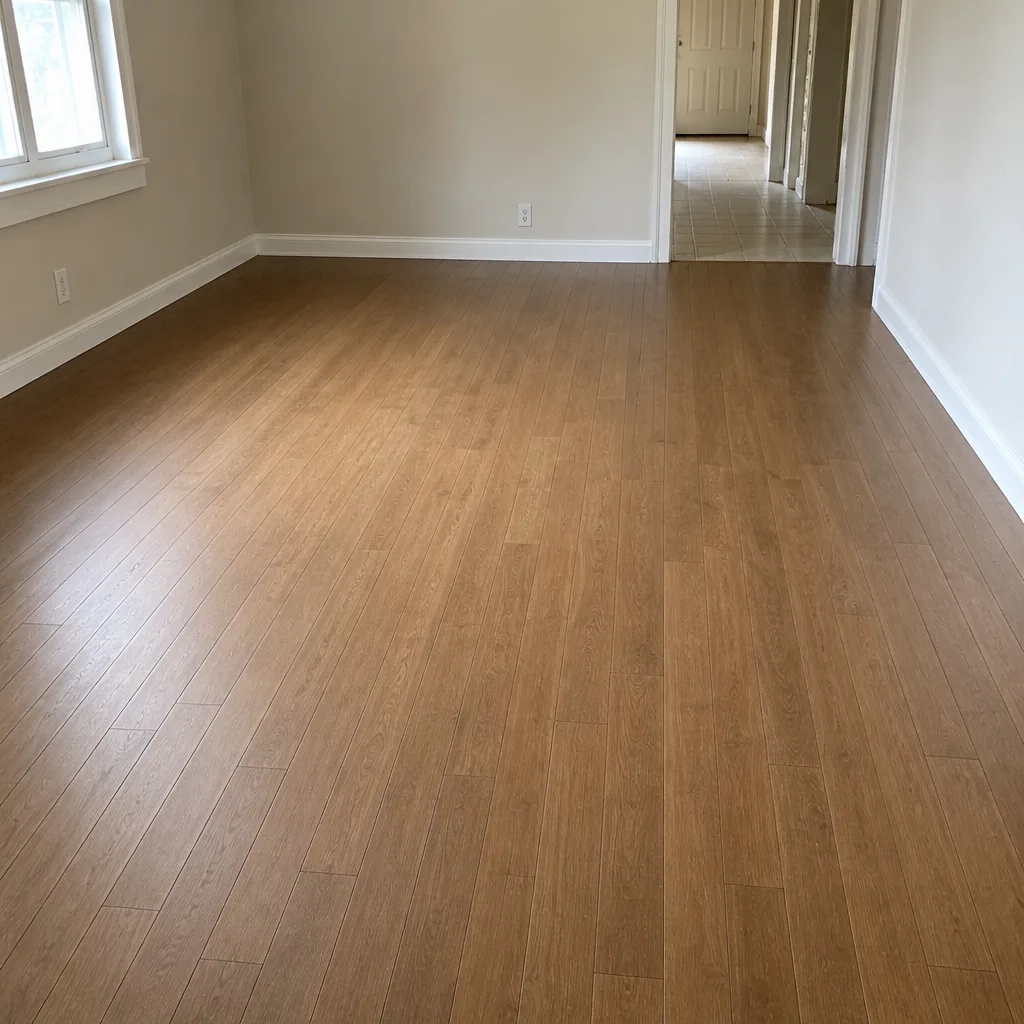
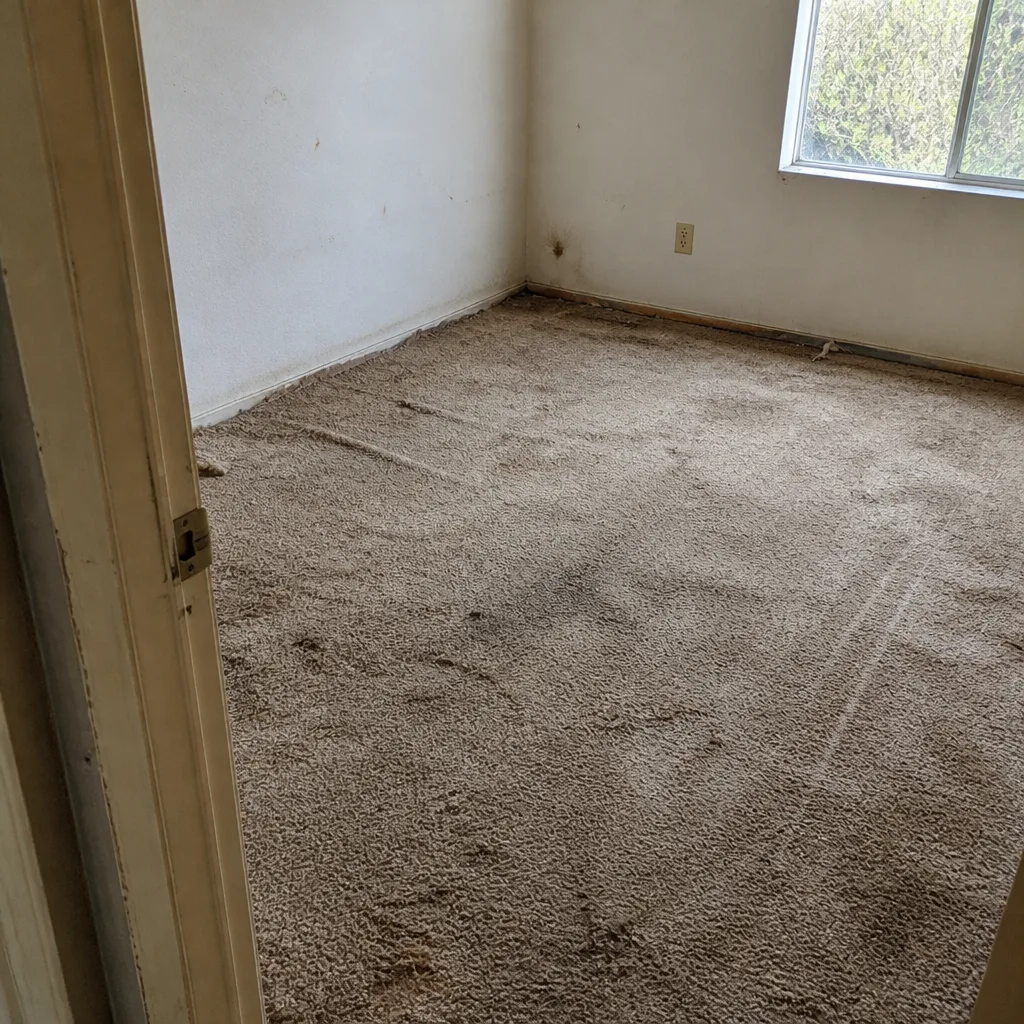
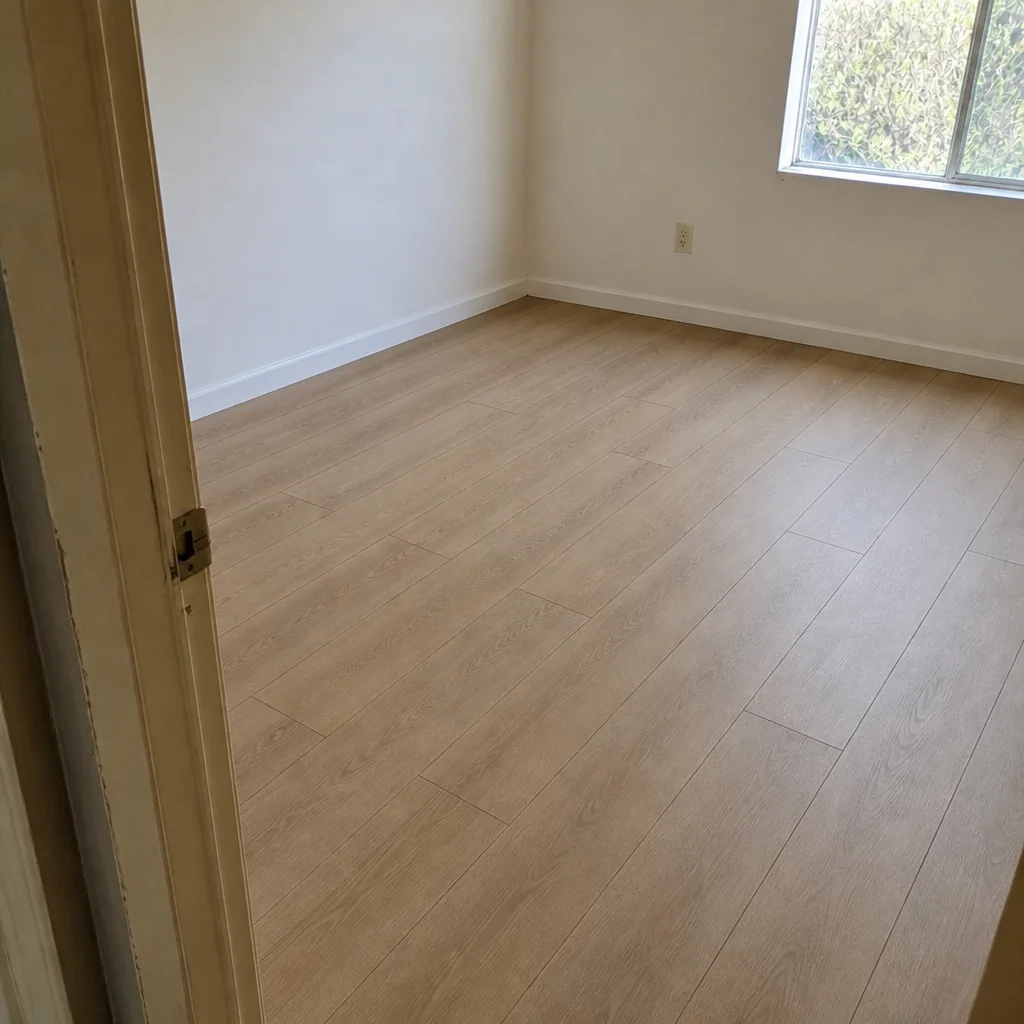
See the difference
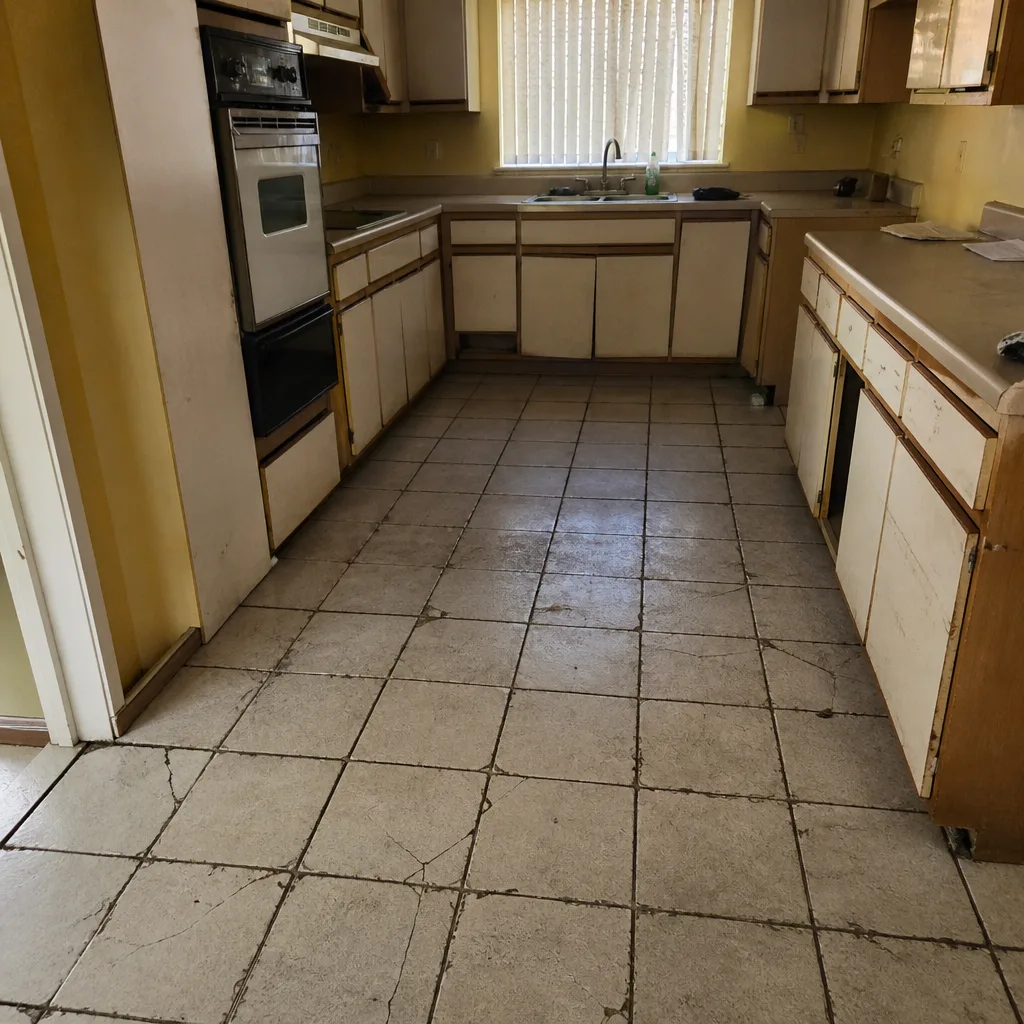 Before
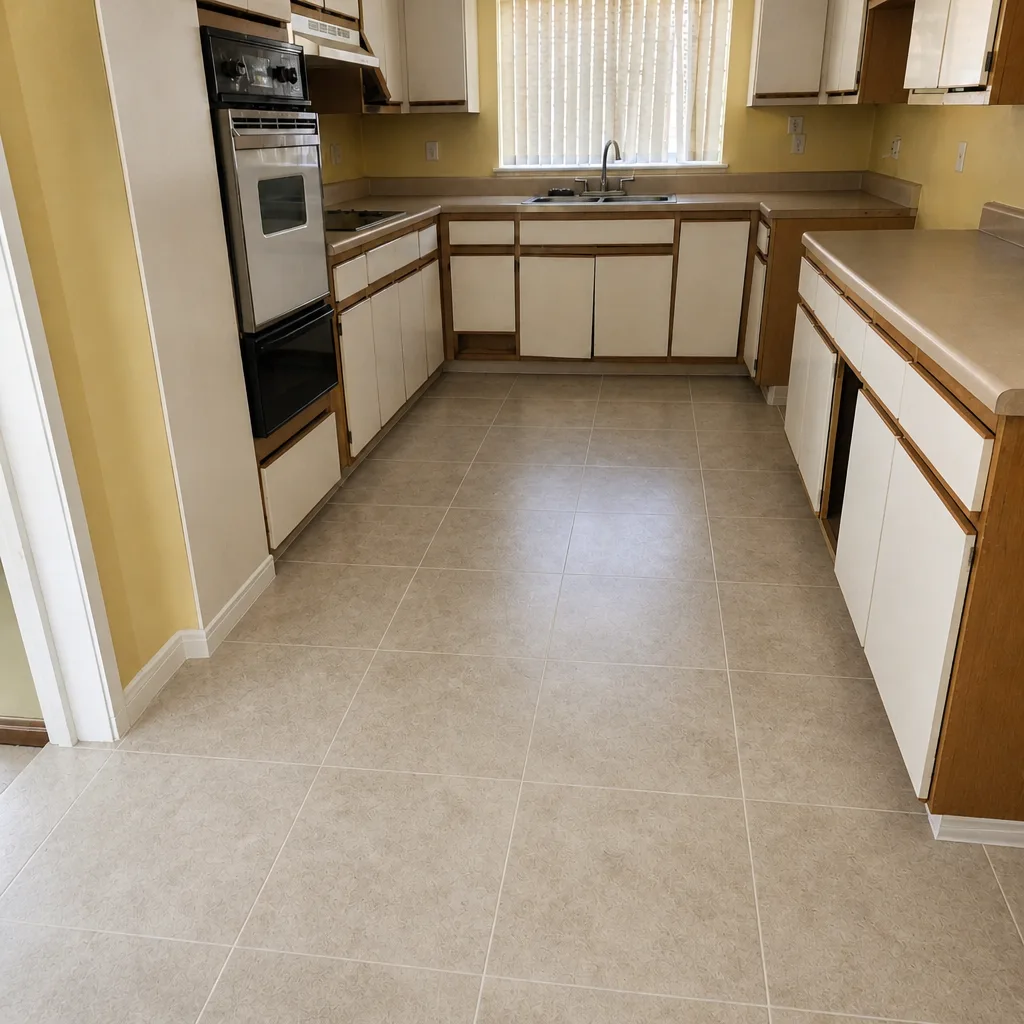 After
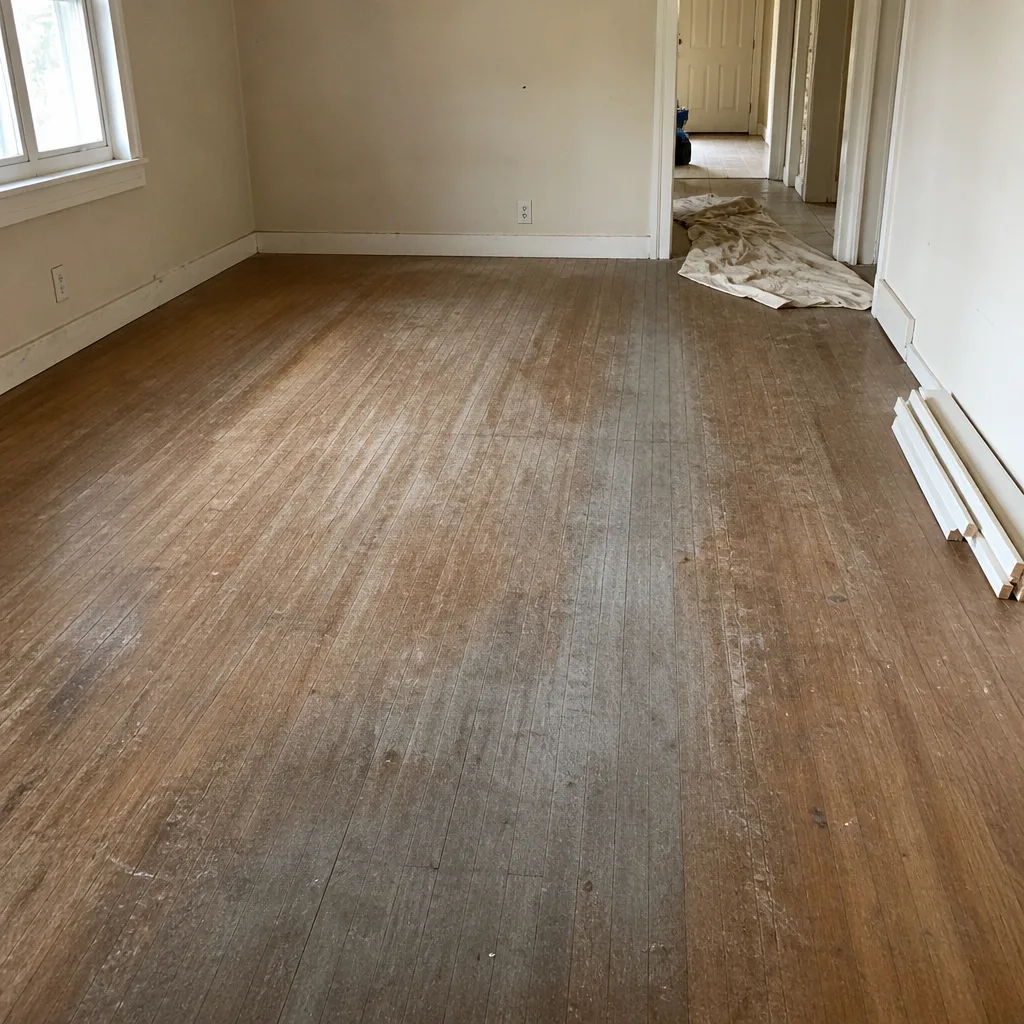 Before
 After
 Before
 After
When to Call a Professional
Most of this prep work is homeowner work. A few scenarios are not. If your moisture meter shows wide or elevated readings, call us before you schedule anything. If the subfloor feels soft underfoot, if there’s visible staining, or if you smell moisture in a room that adjoins your flooring project, that’s a professional assessment. Same for anything involving a bathroom tile installation, hardwood refinishing on existing floors, or any job where the appliance disconnections involve gas. If your project involves a whole-home floor where carpet, tile, and hardwood all need to be handled together, that’s a schedule and coordination problem a single installer can solve. Flooring Installation Spring Valley offers free estimates in Spring Valley. Call (844) 797-4453. We answer 24/7. Fast dispatch from 7am to 7pm, Sunday through Friday. Our technicians have up to 13 years of experience, and we install across the nine brand lines we carry: Shaw, Mohawk, COREtec, Pergo, LifeProof, Mannington, Armstrong, Daltile, and Karndean.
Frequently Asked Questions
The general window is 24 to 72 hours, and the product’s written instructions set the exact requirement. In Spring Valley’s dry, air-conditioned indoor environment, that window matters more than in a humid region, because a floor that acclimates to the wrong humidity level will shrink or expand after install. Follow the product documentation and the written estimate, not a shortcut.
Yes, with a couple of clarifications. All furniture, rugs, plants, and floor decor must be out of the work zone. Appliances in kitchens need to be disconnected and moved off the floor footprint by you or a tradesperson. Installers handle the flooring material and the demo, not your furniture. Empty the room the night before install day and be sure the hallway is clear. Call (844) 797-4453 for an exact quote – estimates are free.
The room should be at its normal living temperature, not a construction temperature, starting at least three days before installation and running through the entire job. Keep the HVAC on at that same setpoint the whole time. Spring Valley’s summer heat makes this a real step, not a suggestion.
Yes. An inexpensive handheld moisture meter from any hardware store lets you check several spots across the room. Test near exterior walls, plumbing fixtures, and in bathrooms and kitchens where hidden leaks are common. You don’t need to interpret the exact numbers yourself – flag unusual readings or wide variance at the estimate, and we’ll take it from there. For pricing on the full job, call (844) 797-4453 for a free written estimate.
That’s a conversation to have at the estimate, not on install morning. Some installers remove and reinstall baseboards, some leave them off for you to reinstall, and some work around them with a shoe molding. Ask which approach works for your project and confirm it in the written estimate. Cover closets and built-in cabinets in the same conversation.
Flooring installation is priced per job by the written estimate, not by a flat rate. The product you choose, the room size, the subfloor condition, and the prep work all factor in. The written estimate sets the final price, and the initial estimate is free. Call (844) 797-4453 to schedule your free in-home measure and estimate. We answer 24/7. Fast dispatch from 7am to 7pm, Sunday through Friday.
The Bottom Line
Flooring prep is about the few steps that prevent failures, not the long checklist that protects the crew’s schedule. Let the flooring acclimate inside the room, keep the HVAC at its normal living setpoint before and during the install, test subfloor moisture early with a cheap meter, empty the room completely, and settle the baseboard and transition plan at the estimate. Do those five things and you’re ahead of most callbacks. Spring Valley’s dry, air-conditioned indoor environment makes them matter more here, not less. Nine brands, one installer – Shaw, Mohawk, COREtec, Pergo, LifeProof, Mannington, Armstrong, Daltile, and Karndean – and a written estimate that covers all of them.
Ready to move forward? Call (844) 797-4453 for a free in-home estimate. We answer 24/7. Fast dispatch from 7am to 7pm, Sunday through Friday. We install carpet, install tile flooring, and refinish hardwood floors, so a whole-home project stays in one set of hands from product selection through final walk-through.
Written by the team at Flooring Installation Spring Valley.