
Last updated November 17, 2026
 Hardwood
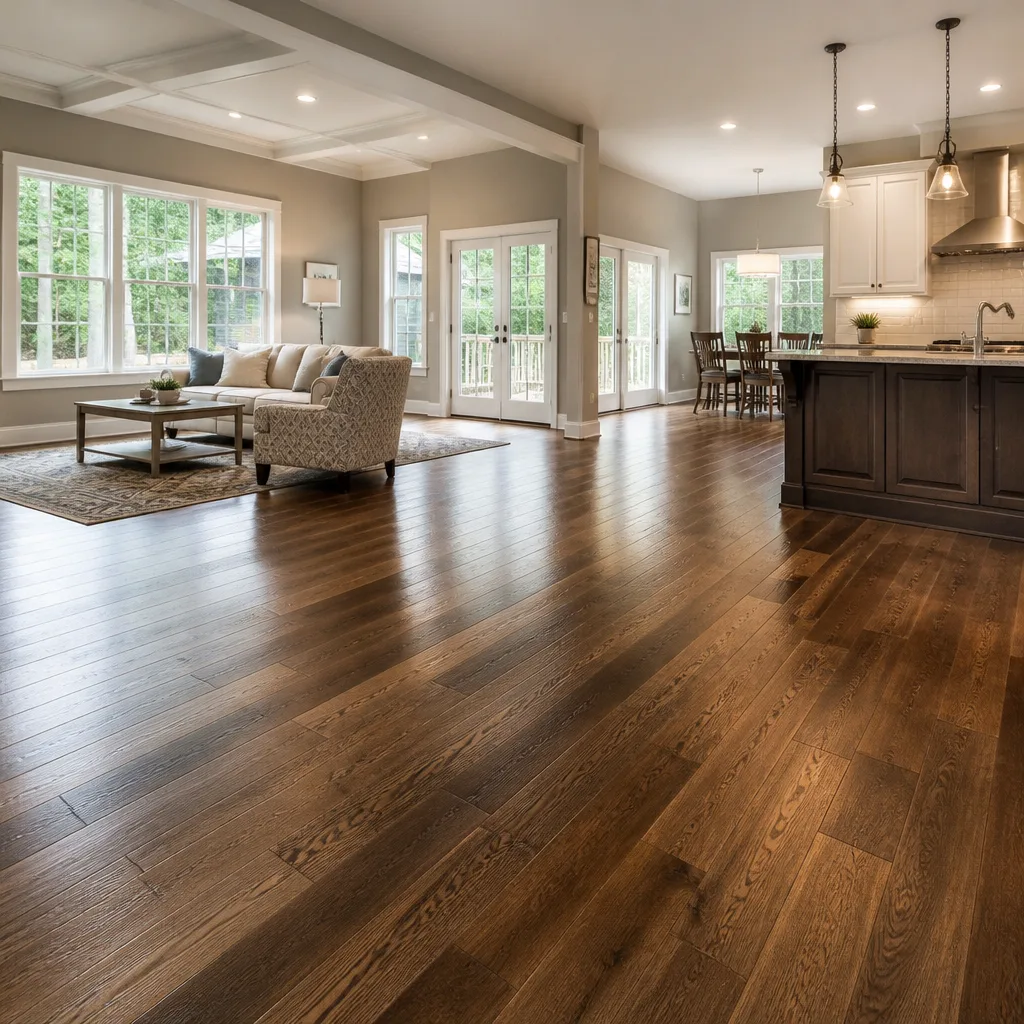 Engineered hardwood
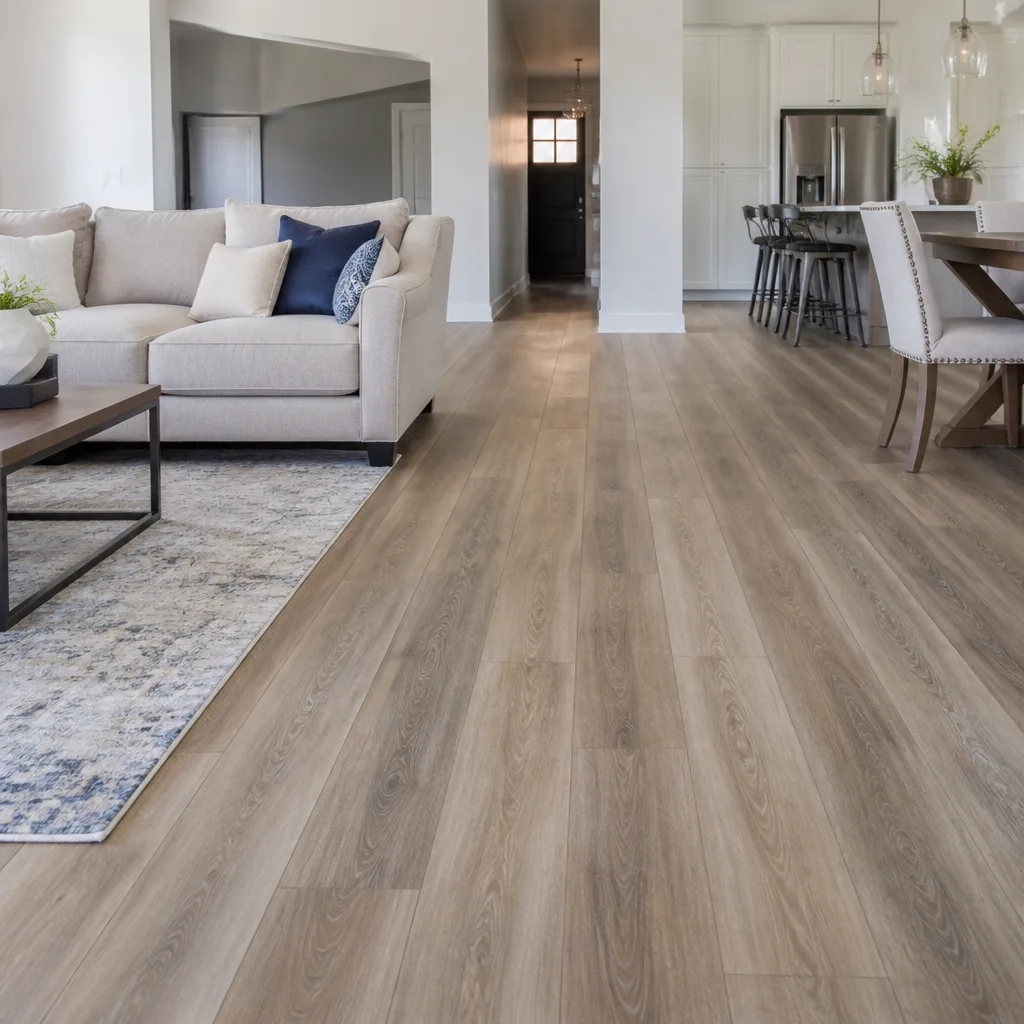 Luxury vinyl plank
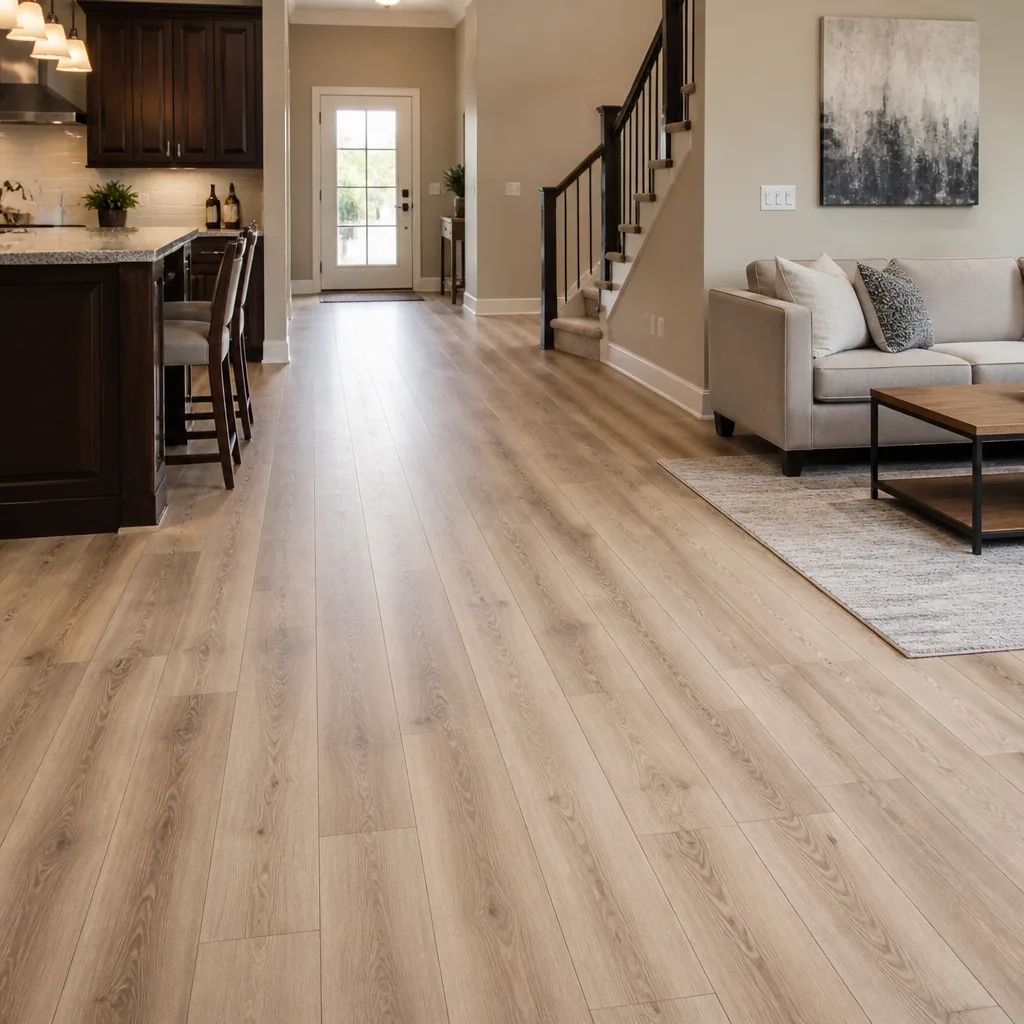 Laminate
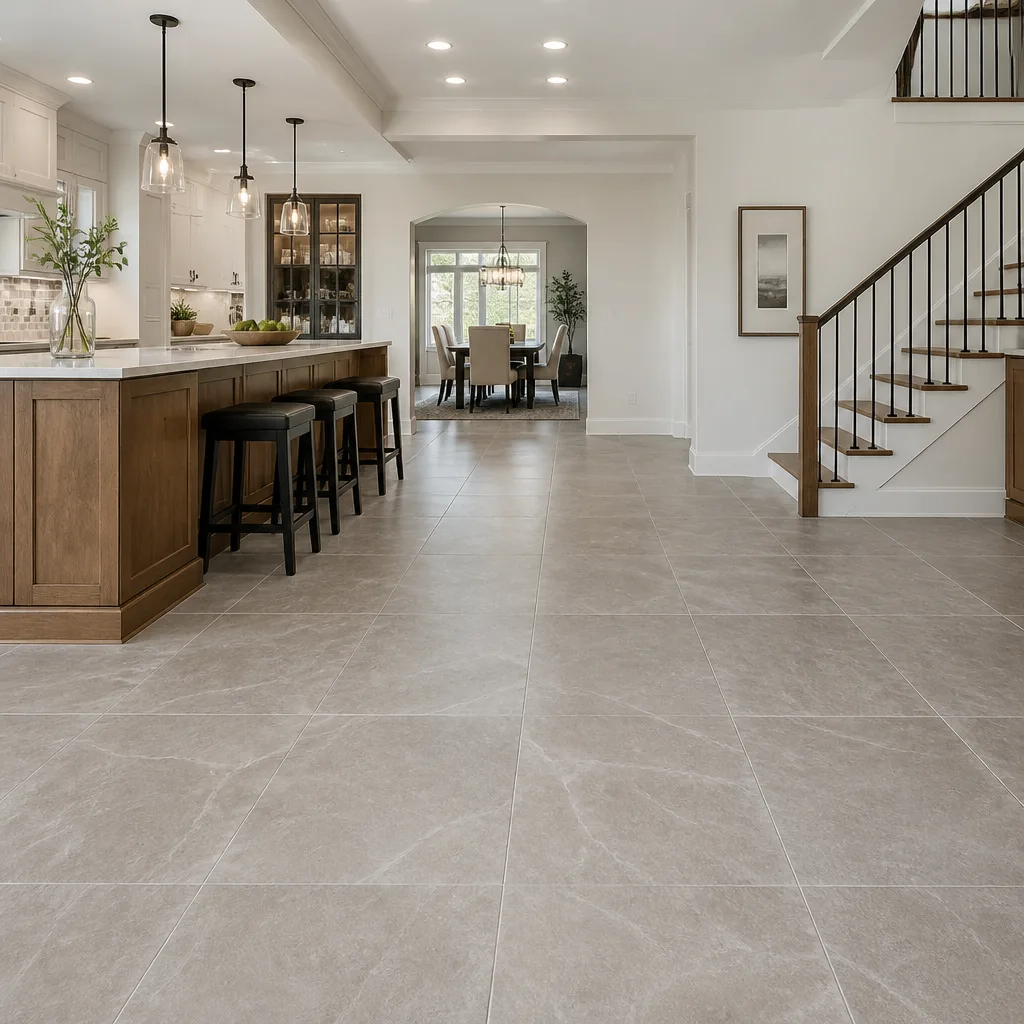 Porcelain tile
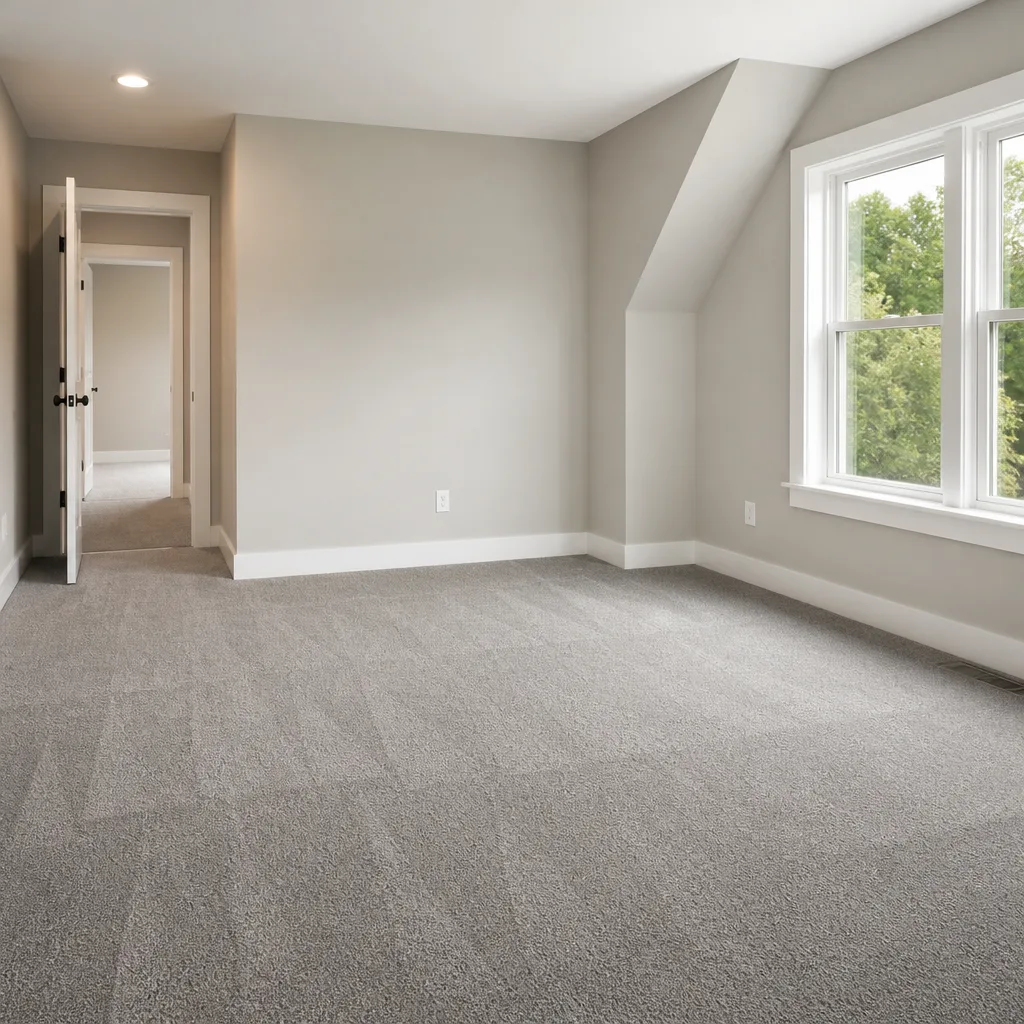 Carpet
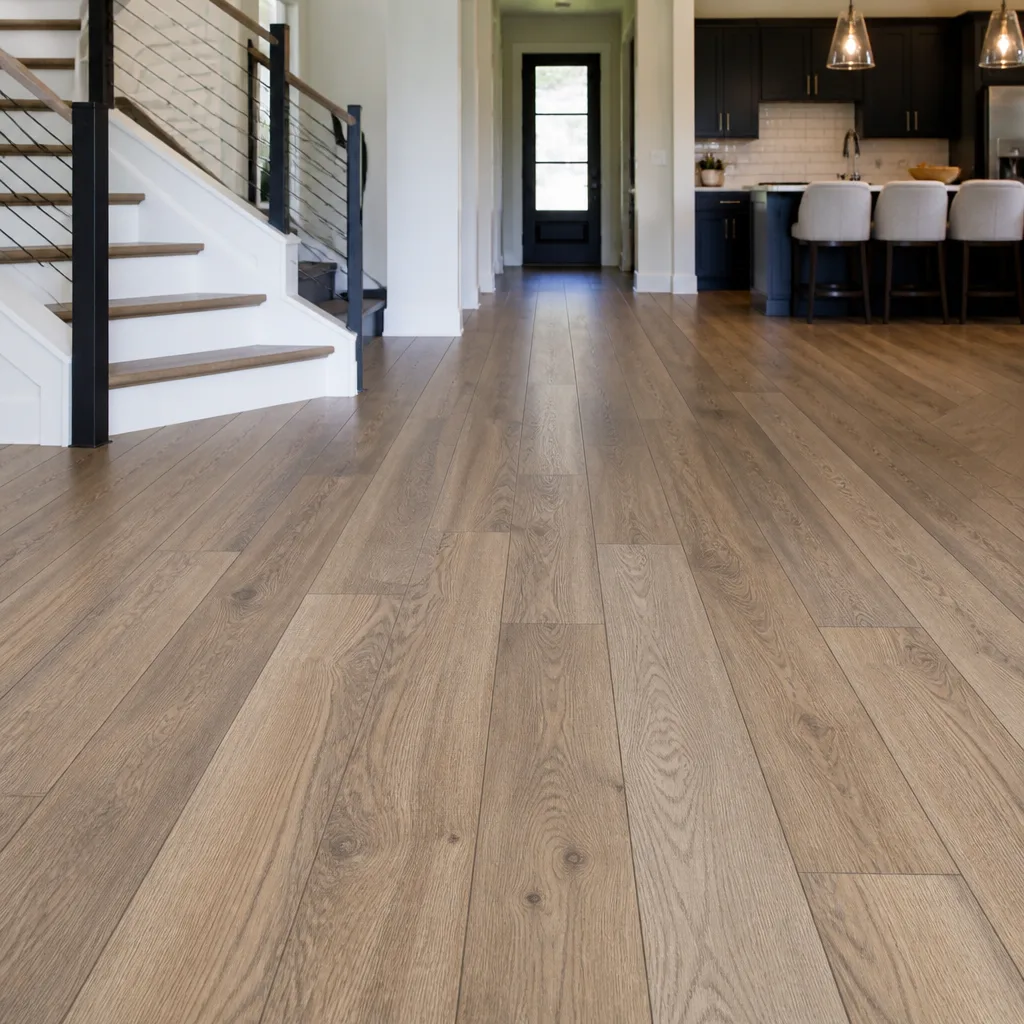 Shaw
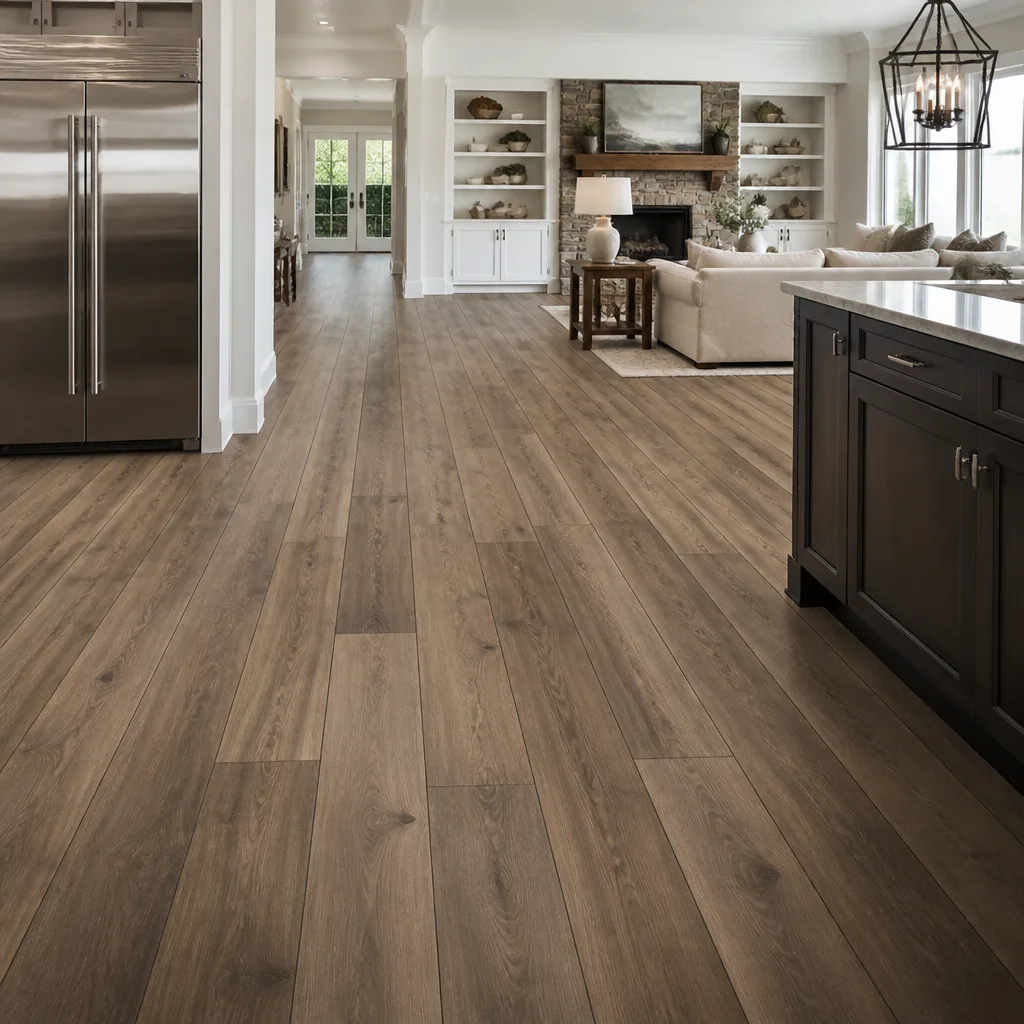 Mohawk
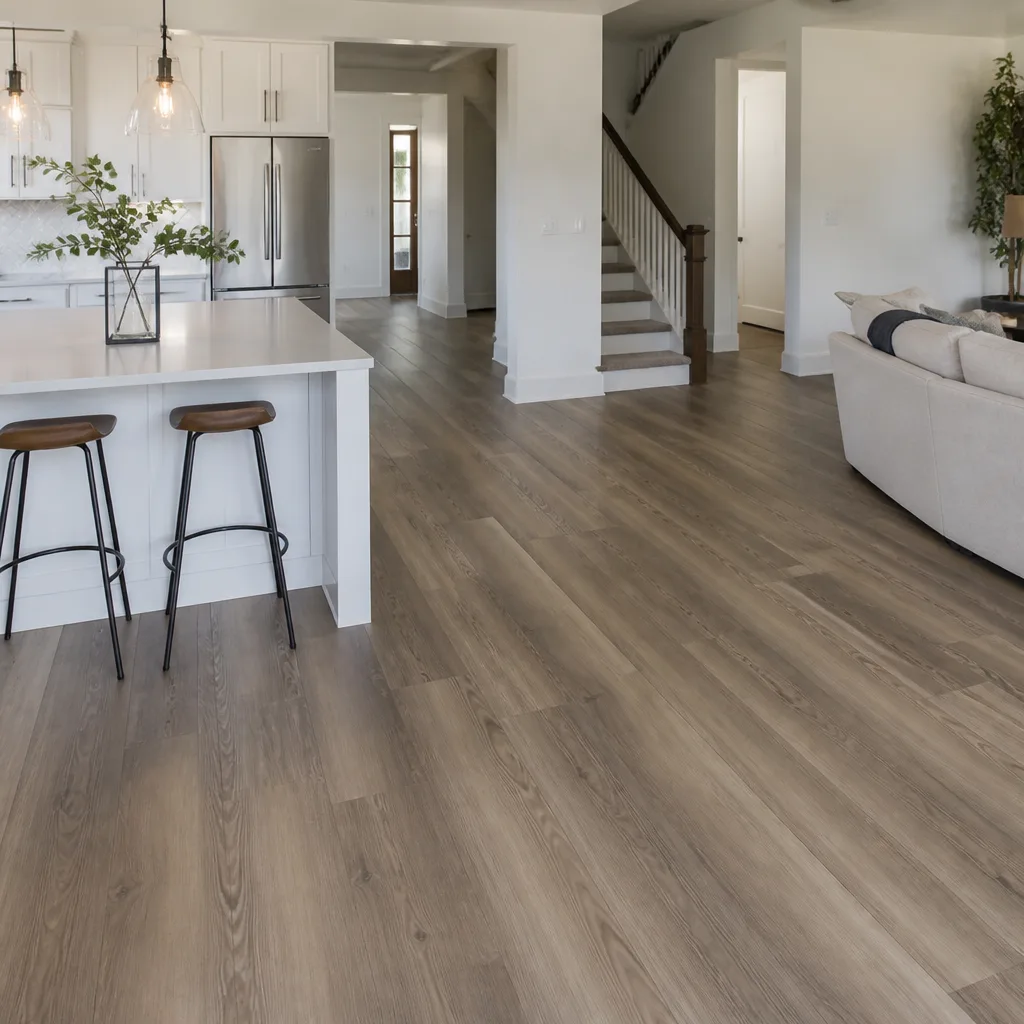 COREtec
 Pergo
Free in-home measure and written estimate: Shaw, Mohawk, COREtec and Pergo lines compared on your own rooms, with carpet, tile, vinyl plank, laminate and hardwood laid out side by side
Get your free estimateFix It or Start Over: Flooring Repair vs Replacement
That one buckled plank in the middle of your living room isn’t a flooring problem. It’s a symptom. The actual problem is usually sitting underneath it: a subfloor holding moisture, a floor that was never given room to expand at the walls, or a product that sat in a cold garage before it went down. Treat the visible symptom and you’ll be having this exact conversation again in 18 months, staring at a fresh buckle in a different spot. Treat the cause and the floor settles down. This guide walks through how a professional actually decides between repair and replacement, what the real costs look like, and the specific damage patterns that make the call for you. We’ll touch on how this plays out in Spring Valley homes too, where dry desert air and slab foundations change the equation.
Styles & brands we work with
- Hardwood
- Engineered hardwood
- Luxury vinyl plank
- Laminate
- Porcelain tile
- Carpet
- Shaw
- Mohawk
- COREtec
- Pergo
Quick Answer
Repair a floor when the damage is surface-level, contained to a small area, and the underlying subfloor is sound and dry. Replace it when the damage spreads across multiple rows, when the subfloor itself is failing, or when the product is discontinued and a matching patch no longer exists. The cost comparison only matters after you know which of those two situations you’re in; a cheap repair on a failing floor is money spent twice, and a full replacement on a fixable plank is money spent for nothing.
Table of Contents
- The Diagnostic Checklist Before Any Quote
- Damage Patterns That Mean Replacement
- Damage That’s Genuinely Patchable
- The Discontinuation Problem
- Cost-Per-Year Math: Repair vs Replace
- When the Subfloor Is the Real Job
- Hardwood: Refinish Before You Replace
- Choosing the Right Replacement Product
- Common Mistakes to Avoid
- When to Call a Professional
- Frequently Asked Questions
The Diagnostic Checklist Before Any Quote
Any honest repair-or-replace recommendation starts with a diagnostic, not a sales pitch. If someone quotes you a number before they’ve looked under the floor or checked the walls, you’re being sold something. Here’s the checklist a flooring specialist runs through before recommending anything.
- Subfloor flatness. A straightedge laid across the floor shows whether the subfloor has dips or humps. Some deflection is tolerable. Significant flatness problems mean the surface product, whatever you choose, won’t stay put.
- Moisture readings. A meter checks the slab or wood subfloor. Elevated readings on a slab foundation mean moisture is migrating up from below, and no flooring product will stay stable on top of active moisture until that’s dealt with.
- Perimeter expansion gaps. Every floor needs a small gap at the walls so it can move. Walk the perimeter with the baseboard off and check. Missing gaps are one of the most common causes of buckling and gapping, and they’re also one of the easiest things to fix.
- Discontinued or not. The product name and color code get looked up with the manufacturer to confirm it’s still in production. More on why this matters below.
- Adhesive or fastener integrity. For glued floors, a few planks get tested; loose edges or hollow sounds mean the bond is failing. For nailed or stapled floors, the fasteners get checked at the seams.
- Damage spread. The technician maps how many rows or how much square footage is affected. A single plank is a repair; five rows across a room is a replacement conversation.
That’s the full pass. It typically takes 30 to 45 minutes on site. When we send someone out for a flooring estimate in Spring Valley, this checklist is what they’re running through, and it’s why we ask you to clear access to the walls and any furniture over the affected area before they arrive.
Damage Patterns That Mean Replacement
Some damage patterns almost always point to replacement, not because the visible damage is huge, but because the pattern tells you the whole floor is compromised.
- Widespread gapping between planks. Gaps opening across multiple rooms usually mean the floor dried out or was installed with no room to move. The problem isn’t one plank; it’s the whole assembly.
- Cupping across multiple rows. Cupping is where plank edges curl up like a shallow bowl. It indicates moisture coming from one side of the floor. When it shows up in four or five consecutive rows, the moisture source is broader than a patch can fix.
- Adhesive failure under LVP or engineered flooring. Hollow, drummy spots across a wide area mean the glue has let go. You can sometimes re-glue a corner, but widespread failure is a floor tear-out.
- Buckling that returns after being flattened. If a hump was weighted down and a month later it’s back, the underlying cause was never addressed.
- Mold or dark staining under the floor. Visible staining or odor on the underside of planks means moisture has been sitting there long enough to grow something. The floor and often the subfloor need to come out.
In Spring Valley, summer heat and very dry air tend to push floors the opposite way from what homeowners expect: not swelling, but shrinking. Gaps opening up in winter after a dry summer are a classic pattern here. When those gaps start showing across an entire room, the conversation moves from patching to replacing, because the wood or composite has already moved past the point of re-stabilizing.
Damage That’s Genuinely Patchable
Plenty of damage is truly patchable, and it’s worth knowing the difference so you don’t replace a floor you didn’t need to. These are the situations where a targeted fix is the right answer:
- A single plank or a small block of planks with impact damage. A dropped tool, a heavy piece of furniture, a burn mark. If the surrounding floor is flat and stable, individual planks can usually be cut out and replaced.
- Isolated water damage from a small spill or an overflowing plant. If the moisture was caught quickly and the affected area is small, drying and replacing a few boards is often enough.
- Seam separation on carpet. Carpet that’s come loose at a seam or at a doorway threshold can usually be re-stretched and re-seamed without replacing the whole room.
- Chipped or cracked tiles with intact grout lines around them. A single cracked tile can typically be chipped out and replaced. If the surrounding tiles are loose, the repair expands.
- Scratches and dullness on hardwood. These usually call for refinishing, not repair, which we’ll get to below.
The key test for a patchable repair is this: is the damage contained, and is the surrounding floor still flat and bonded? If both are yes, a patch is genuinely the right call. If either answer is no, a patch is a temporary fix that buys time rather than solving the issue.
The Discontinuation Problem
This is where repair-vs-replace gets expensive in ways most homeowners don’t anticipate. If your floor is still in production, a patch is straightforward: order a few planks or tiles, install them, done. If it’s been discontinued, a “small” repair can turn into a full-room replacement because the new product won’t match.
Two things cause the mismatch. The first is the pattern itself: a product that’s been off the market for a few years can’t be found in the exact color. The second, and more common, is dye lot variation. Even the same product name made in the same year can come out of the factory in slightly different shades from one production run to the next. A 10-plank repair using a current production plank next to a floor that was installed seven or eight years ago often shows a visible patch. Homeowners don’t love that, and neither do we, because it’s the kind of thing that gets noticed every time you walk into the room.
So step one is always the same: find out whether the floor is still manufactured. Here’s how to check:
- Find the manufacturer’s name on a plank (often stamped on the back) or a leftover piece from the original install.
- Look up the product by name and color on the manufacturer’s site, or look for the paperwork from the original install.
- Call the manufacturer’s customer line and ask two questions: is this product still in production, and can you buy a small quantity?
- If yes to both, order the replacement pieces and check the dye lot number against what you have, if you can find it.
- If no, ask a flooring specialist to compare available replacements for the closest match.
When replacement isn’t a perfect match, we can often steer you toward a close substitute from a brand like Shaw or Mohawk that’s a reasonable visual match. If the patchable area is in a high-visibility spot, sometimes the better move is to accept a full-room replacement instead. It’s a real trade-off between cost and how much the mismatch will bother you.
Cost-Per-Year Math: Repair vs Replace
The real comparison isn’t repair price vs replacement price. It’s the cost per year of remaining service life. Compare a lower repair against a higher replacement, not on the invoice number but on how many years each buys you.
Example math: a $400 repair on a floor that’s already damaged enough to have only two or three years of life left works out to $130 to $200 per year of service. A $3,000 replacement with a 20-year service life is $150 per year. On that math, the replacement is the better decision because you’re spending similar money per year and ending up on a fresh floor that will outlast the repair by a decade. Flip the example: a $400 repair on a floor with 12 years of life left is $33 per year, and there’s no reason to replace.
The repair number also rises if the subfloor needs attention. A repair quote that includes subfloor work can cost more than you’d expect, and it’s worth getting a written breakdown. Here’s a rough line-item comparison of what each path typically involves, priced as estimates that get confirmed in a written quote:
- Patch repair, small area: labor for the plank removal and install, plus replacement pieces. The written estimate is set per job.
- Patch repair with subfloor repair: the above plus removal and replacement of damaged subfloor panels or leveling compound.
- Full replacement, one room: tear-out and haul-away, surface prep, new product, install. Priced per square foot by product type.
- Full replacement, whole home: the above across multiple rooms, with a single quote and a single install day spread across the project.
We quote replacements as an estimate, not a fixed number, because the scope changes the moment we get into tear-out and find the subfloor condition. Spring Valley has a lot of slab-on-grade homes, and slab moisture is unpredictable until the meter reads it. So the final number is always set by the written estimate you get after the diagnostic.
When the Subfloor Is the Real Job
Here’s the most expensive mistake in this whole conversation: putting a new floor over a failing subfloor. It happens all the time because the subfloor is invisible. It’s under the product, out of sight, and it’s the part nobody wants to pay to fix. But skipping it makes every surface choice irrelevant.
The three most common subfloor problems:
- Rotted or soft OSB or plywood. Soft spots that flex underfoot, or corner areas where the wood has gone crumbly. Any new floor laid over this will develop the same problem again within a year or two.
- Unlevel concrete slab. Dips and humps on a slab. Flooring products don’t like either. Hard tile cracks over a dip; vinyl and laminate show hollow spots. The slab needs leveling compound or another corrector before anything goes down.
- Failing mortar bed under tile. Tiles come loose and the bed beneath them has cracked or hollowed. In that situation, patching individual tiles doesn’t hold, because the bed underneath is already failing.
Here’s the rule: if the subfloor is failing, the surface choice is the second conversation, not the first. Fix the subfloor, then choose the product. In Spring Valley, that often means checking the slab for moisture and correcting any dips before new flooring goes down, especially in homes that get a lot of summer sun through west-facing windows; heat concentrated on an unshaded slab can stress the floor assembly and make small subfloor issues worse over time.
Hardwood: Refinish Before You Replace
If your existing floor is real hardwood, there’s a third option most people forget: refinishing. Sanding off the worn top layer and putting down a new finish restores the floor to a near-new appearance and extends its life. That’s a much smaller spend than a full replacement, and the floor that comes out is the original floor, not a new product with a different grain pattern.
Refinishing is the right call when the wood is structurally sound and the wear is in the finish and top layer, not in the boards themselves. It’s not always the right call: if the boards are cupped, rotted, or too thin to sand again, refinishing won’t fix it. Whether a given floor can be refinished at all depends on how thick the wear layer is and how much material has already come off in prior sandings. That’s checked at the estimate visit, not over the phone.
For homeowners on the fence, the question to ask is simple: is the wood underneath the wear still solid? If yes, refinishing is the value play. If no, replacement is the answer. Where the boards are solid but the finish is tired, refinishing is often the smartest dollar you’ll spend on the floor, and it’s one of the services we handle. If you’re looking at a refinish across a room or two, we can give you a written estimate that compares refinish vs replace directly. Call (844) 797-4453 and we’ll outline both options. We answer 24/7. Fast dispatch from 7am to 7pm, Sunday through Friday.
Choosing the Right Replacement Product
If you’ve decided to replace, the next conversation is product. This is where most big-box retail programs fall short: they sell you a product off a shelf and hand you an installer you’ve never met. A flooring specialist who installs across brands can match the product to the room, not to a single brand’s sales target. We install across nine trusted brands, and the point isn’t the number. It’s that a recommendation can come from genuine comparison instead of what happens to be on the shelf that day.
Some examples of how the product matches the room:
- High-traffic, moisture-prone rooms (kitchens, baths, entryways): Karndean or COREtec luxury vinyl products are built for high-traffic, moisture-prone environments, and both brands are commercial-grade.
- Bedrooms, closets, stairs: Shaw or Mohawk carpet handles soft-foot traffic well and is often the most sensible budget choice for these rooms.
- Living areas where a tile or stain look is the goal: Daltile tile for a durable, water-resistant surface, or a hardwood product refinished to the tone you want.
Value-tier lines like Pergo and Armstrong and premium designer brands like Karndean and COREtec are both available, so the recommendation can follow your budget and use case rather than a margin target. For a multi-room project that mixes flooring types, having the carpet, the tile, and the refinish handled under one contractor relationship means you’re not sequencing separate crews and hoping the install dates line up. If you came here looking for a broad look at the full service picture, this flooring installation Spring Valley overview covers the whole category.
Common Mistakes to Avoid
- Quoting repair before the subfloor is checked. The visible damage is rarely the whole story. A quote that doesn’t include a moisture check and flatness check is a guess, not a diagnosis.
- Patching without checking for discontinuation. A small repair that turns into a visibly mismatched patch is a repair you’ll want to redo. Check the product status before you commit.
- Replacing when a refinish would restore the floor. If the wood underneath is solid, refinishing costs less and keeps the original material. Rushing to replacement can be the more expensive path.
- Choosing a product before fixing moisture. Any surface product, whether it’s LVP, laminate, or hardwood, will fail on active moisture. Deal with the moisture source first.
- Ignoring the perimeter expansion gap. One of the most common causes of buckling in Spring Valley floors is a missing gap at the wall. If your floor is being replaced, confirm the gap is correct at install.
- Hiring the seller to be the installer. A retail install program often hands your job to a crew you didn’t choose. Ask who is actually performing the install and what happens if the subfloor is bad.
- Skipping a written estimate. Verbal quotes leave you exposed when scope changes. A written estimate sets the price and gives you something to compare against other bids.
When to Call a Professional
Call a professional when the damage is more than one plank, when the subfloor might be involved, or when you can’t tell which it is. Call when the floor is hardwood and you’re unsure whether refinishing is possible. Call when you’ve already had a patch done and the problem came back. Call when the product might be discontinued and you need to know whether a patch is realistic before you spend on it. If you’re planning a whole-room refresh, call before you buy the product, not after, so the product choice and the install scope can be matched. Flooring Installation Spring Valley offers free estimates in Spring Valley – call (844) 797-4453. We answer 24/7. Fast dispatch from 7am to 7pm, Sunday through Friday. When you get a quote, expect a written estimate, not a verbal ballpark, and expect it to set the final price. If you want to compare against our broader Spring Valley service page, it lays out the full scope in one place.
Frequently Asked Questions
Repair is almost always cheaper up front, sometimes by a wide margin, but the cost gap narrows once you count how many years each option buys you. A patch on a small area is a fraction of the cost of a full replacement, and a replacement is a fraction of the cost of a replacement done twice. The honest comparison is cost per year of remaining service life, which is why the diagnostic comes first. Call (844) 797-4453 to schedule a free estimate; the written quote will show both options so you can compare on the same terms.
Yes, usually. A single plank of LVP that’s been damaged by impact or a localized spill can typically be cut out and replaced without touching the surrounding floor. The one thing that can make it complicated is discontinuation: if the exact product and color aren’t still available, the new plank may not blend with the old ones. That’s checked before any quote. If you’re unsure about your product, call (844) 797-4453 for a free estimate and we’ll find out.
Look for damage spread across multiple rows or rooms, cupping that runs in continuous bands, hollow or loose areas under glued flooring, or a subfloor that flexes or shows staining. Those patterns point to a system-wide failure that a patch won’t fix. Single-plank damage, isolated stains, or a loose carpet seam usually point to a repair. If you can’t tell, the diagnostic pass settles it, and it’s part of a free estimate. Call (844) 797-4453.
Often, yes. If the wood is solid and the wear is in the finish rather than the boards, refinishing restores the floor for less than replacement, and it keeps the original floor in place. Spring Valley’s dry air is generally kind to solid hardwood; the bigger concern is moisture coming up through a slab. Whether refinishing is possible at all depends on the thickness of the wood and how much material has already been sanded off, and that’s confirmed at the estimate visit. Call (844) 797-4453 to schedule yours.
The new flooring inherits the old problem and usually fails faster than the original did. A soft subfloor flexes under new planks and pulls the fasteners or breaks the adhesive; a dip in a slab makes tile crack and vinyl plank hollow out. The surface product can’t fix a flatness or moisture problem beneath it. Fixing the subfloor first is what makes a replacement last, and the diagnostic at a free estimate is where that gets caught. Call (844) 797-4453.
One room is a normal scope and doesn’t require the whole house. The only reason a room replacement might expand is if the rest of the house has open sightlines to the removed floor and the new product doesn’t match. In that case, we can talk through the options for matching vs intentionally shifting the pattern. For most rooms, a single-room replacement is straightforward. Call (844) 797-4453 for a free estimate in Spring Valley.
The Bottom Line
Repair vs replacement isn’t a sentiment question; it’s a diagnosis question. Run the diagnostic first: flatness, moisture, expansion gaps, adhesive integrity, and discontinuation. If the damage is contained and the subfloor is sound, a targeted repair is the right spend. If the damage spans multiple rows, the subfloor is failing, or the product can’t be matched, replacement is the honest answer. And if you have solid hardwood, check whether refinishing restores the floor before you replace it. Whether you’re in Spring Valley and looking at carpet installation, planning a tile flooring installation, or deciding on a hardwood refinish, the sequence is always the same: diagnose, then decide, then quote.
If you’re ready to settle the repair-vs-replace question with real numbers, call (844) 797-4453. We answer 24/7. Fast dispatch from 7am to 7pm, Sunday through Friday. We’ll send someone out for a free estimate with a written quote that lays out both paths so the decision is yours, made with the diagnostic in hand. Nine brands, one installer, and a straight answer on whether your floor needs a fix or a reset.
Written by the team at Flooring Installation Spring Valley.
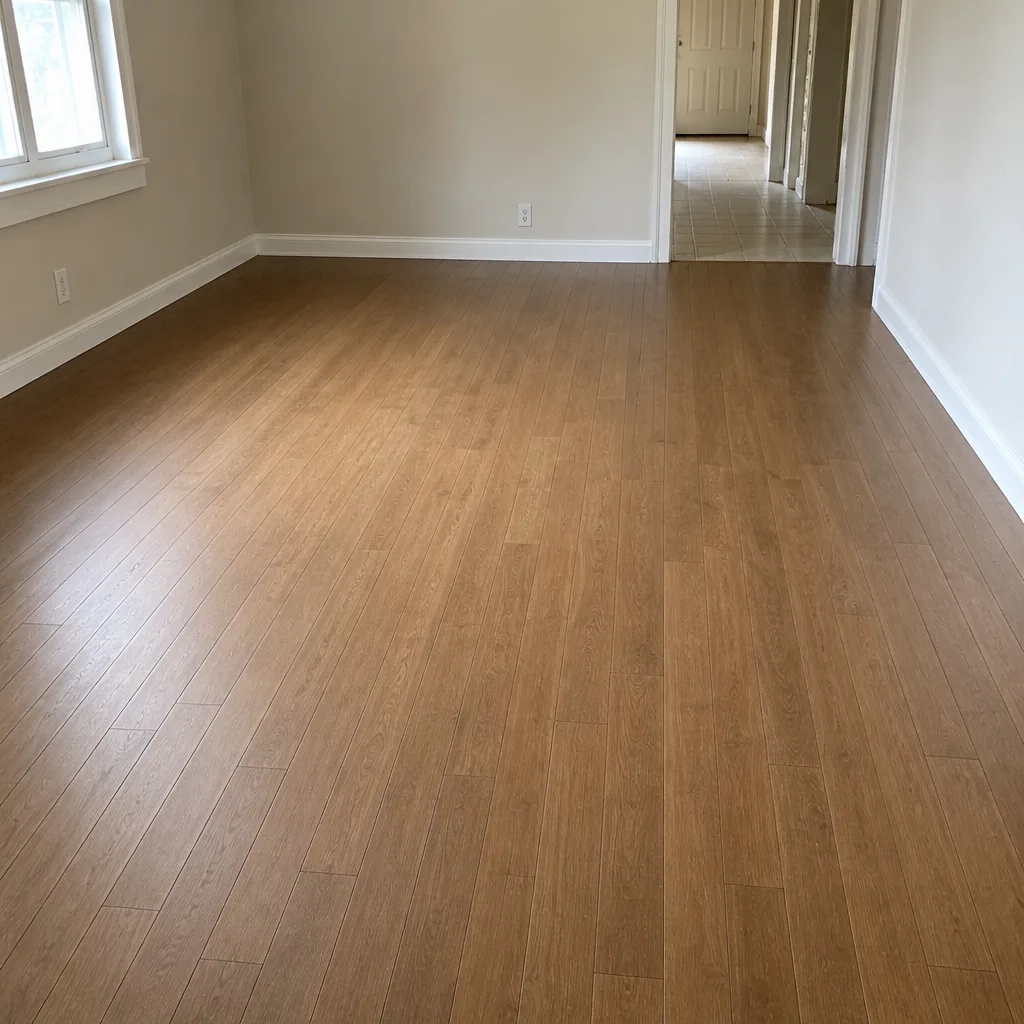
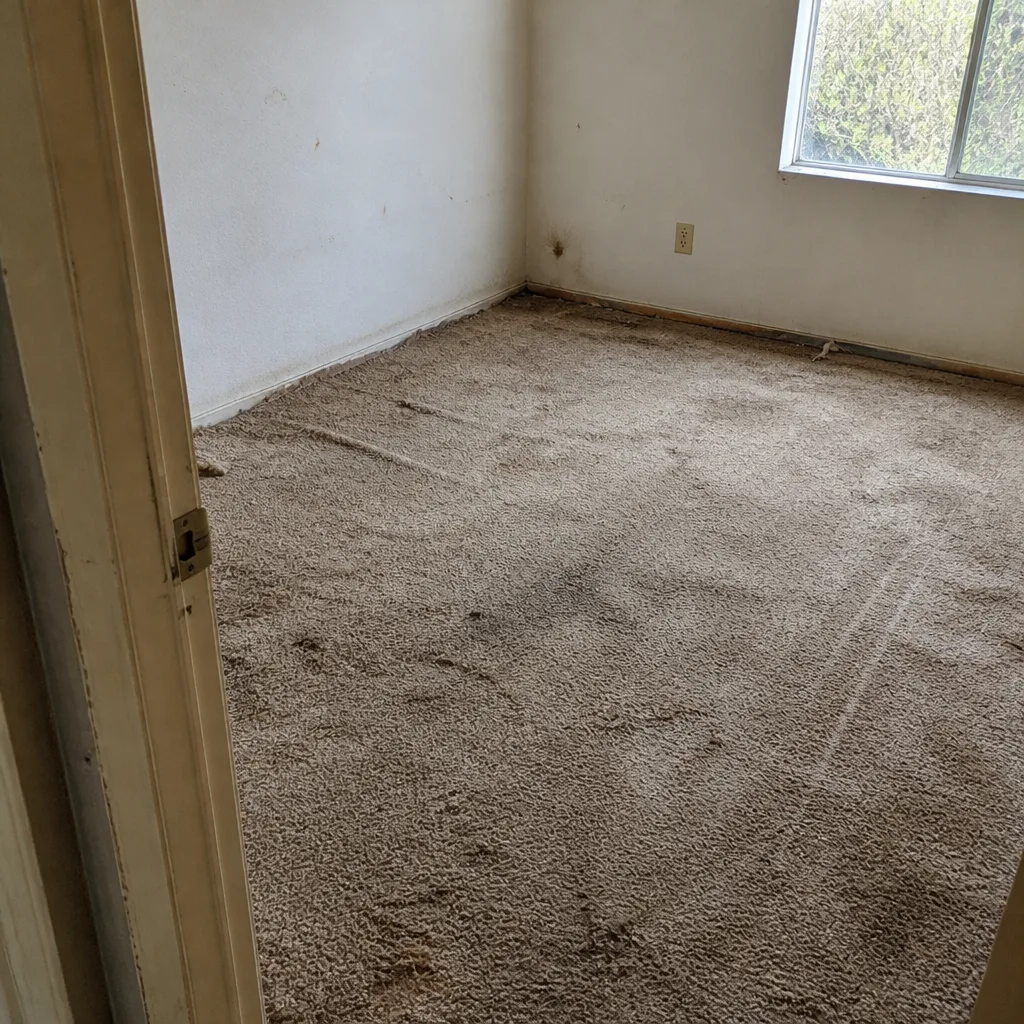
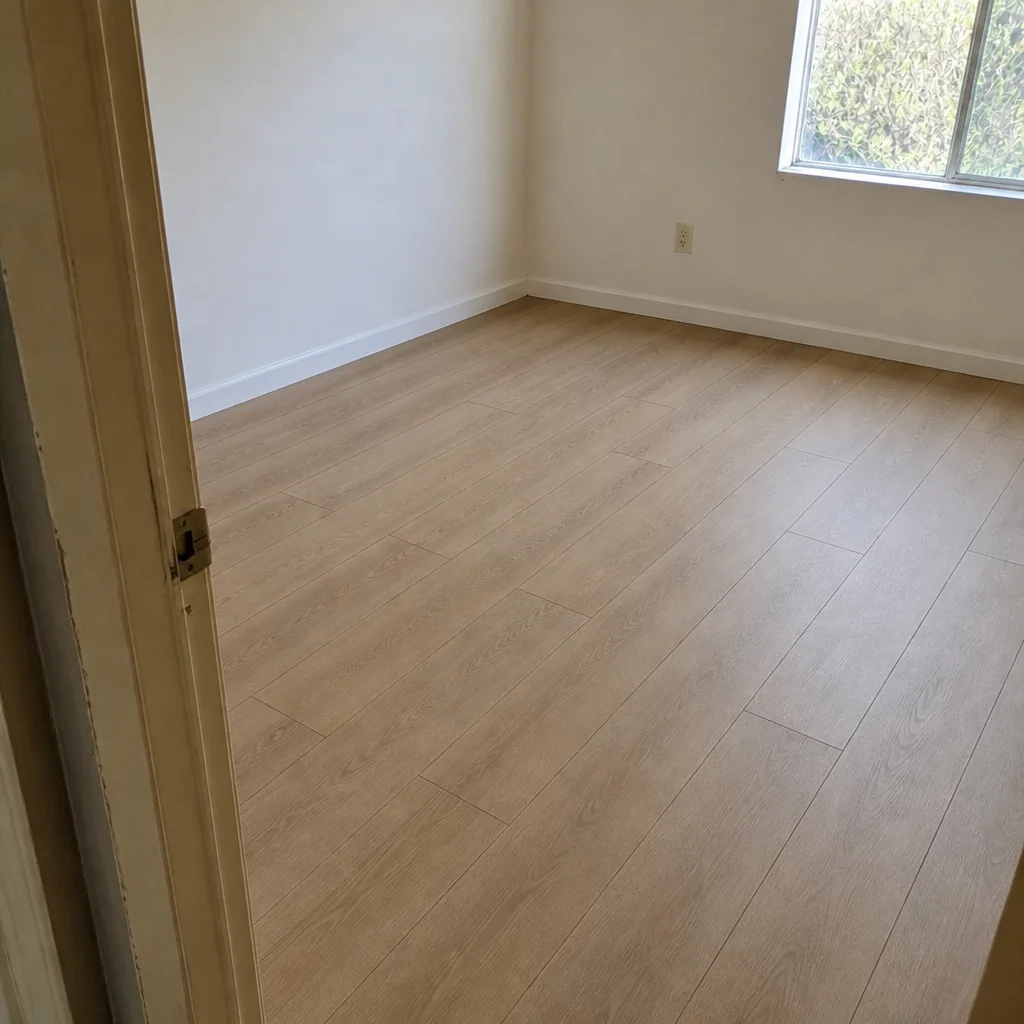
See the difference
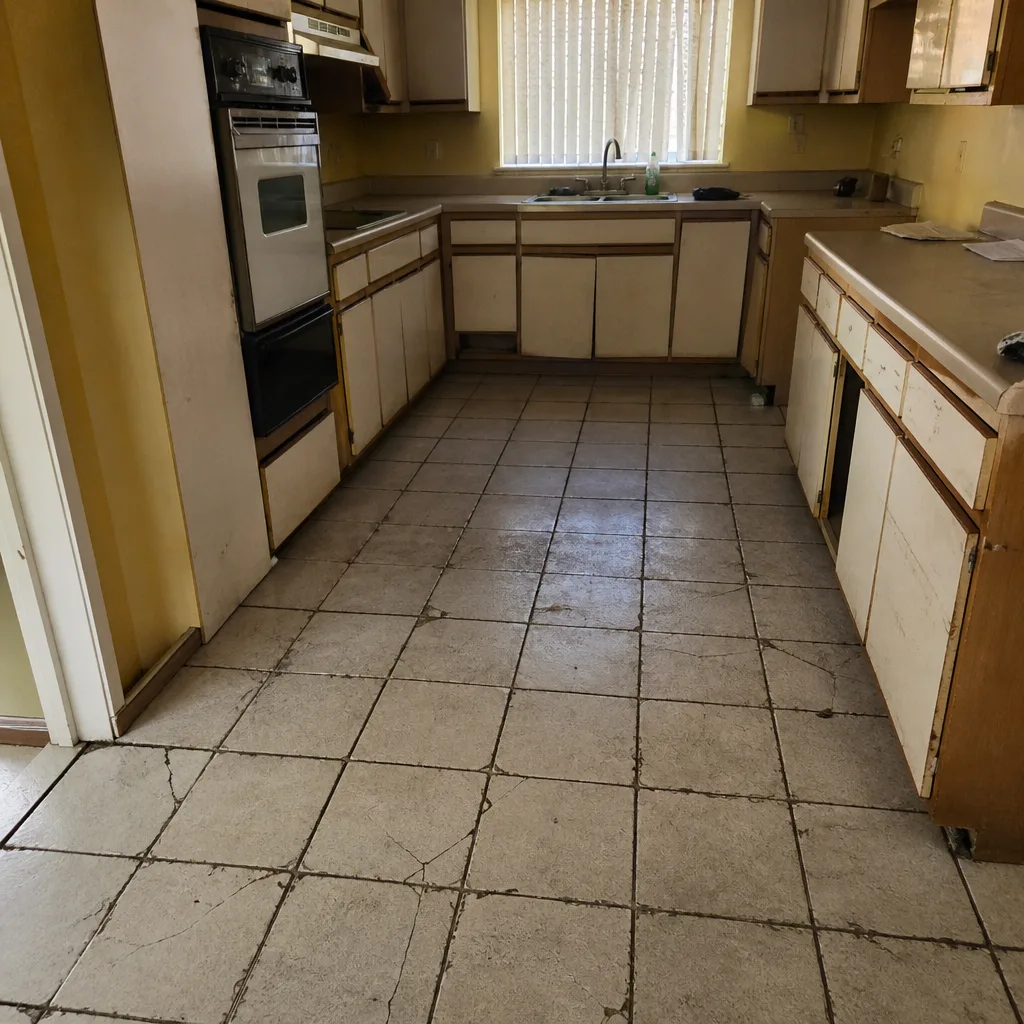 Before
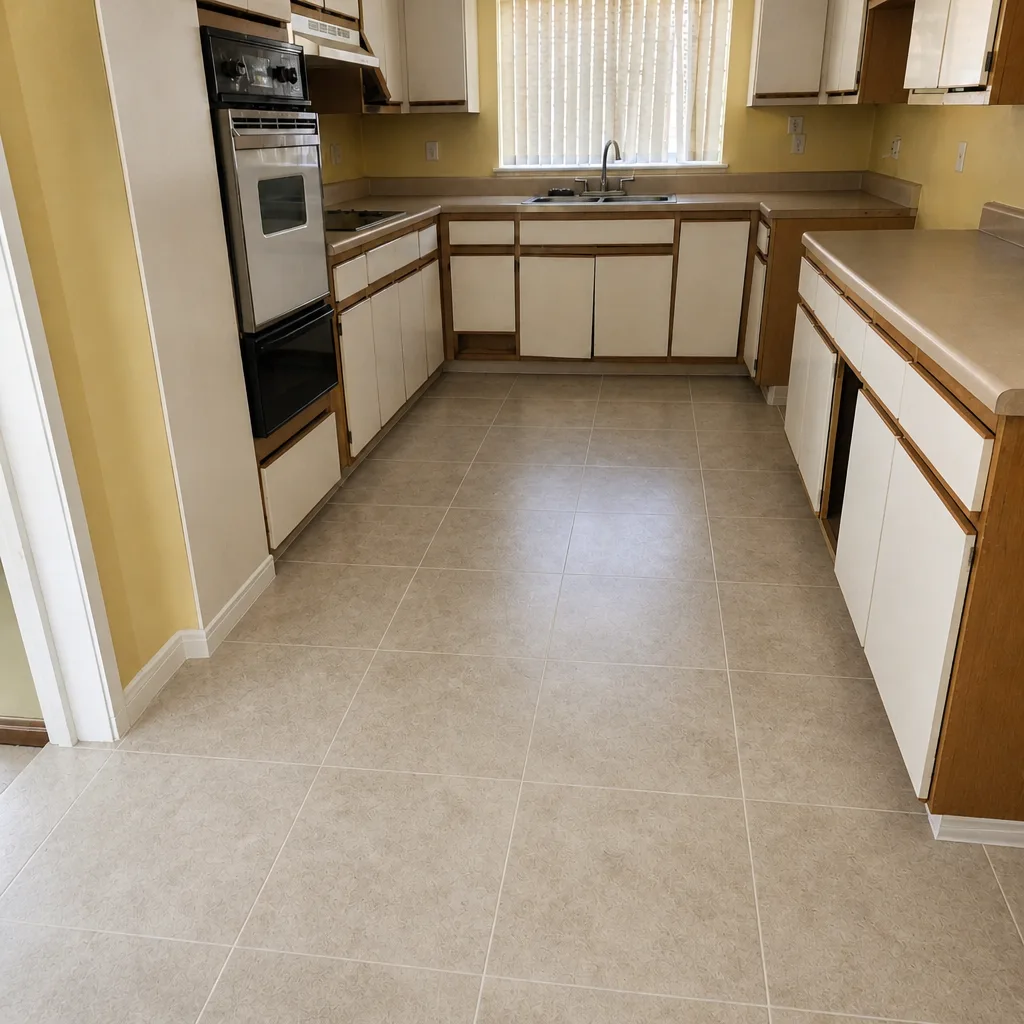 After
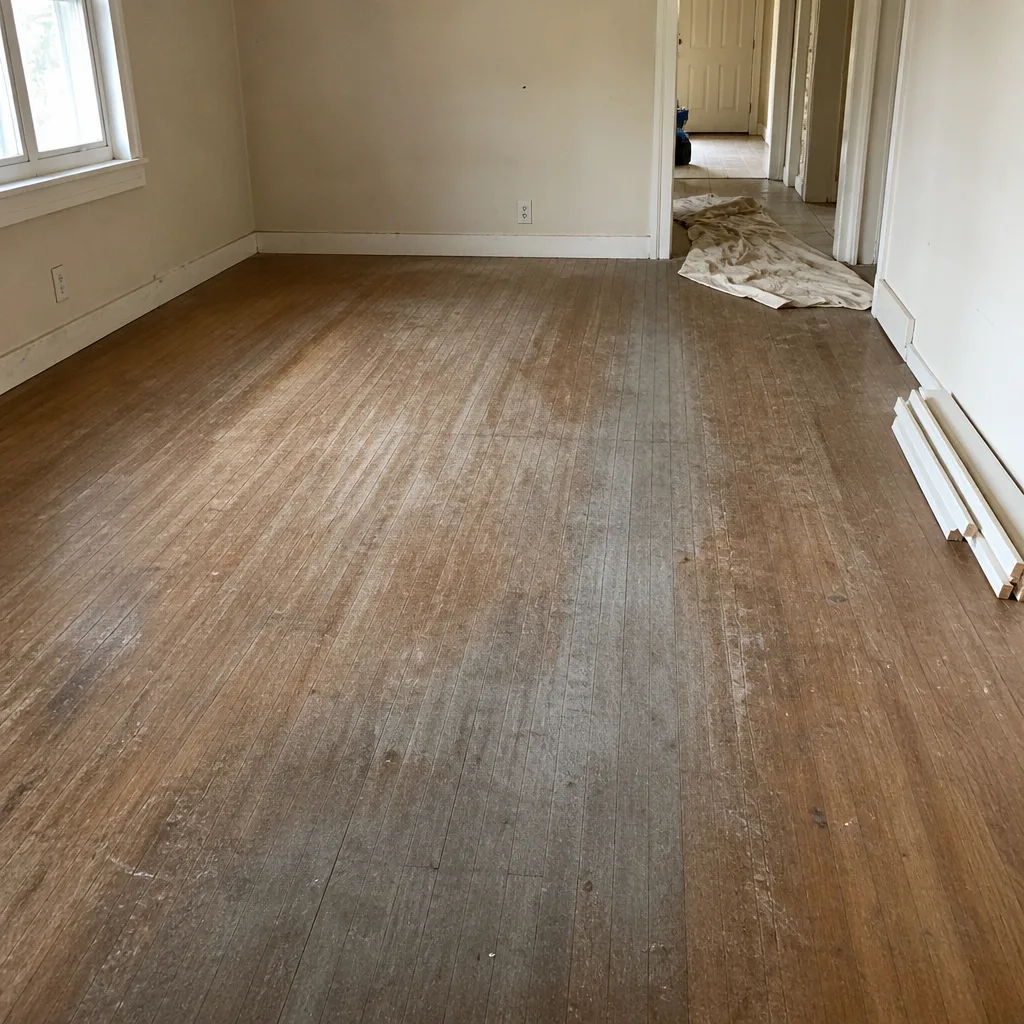 Before
 After
 Before
 After